How to Make a Vision Board THAT ACTUALLY WORKS [10-steps]
This post may contain affiliate links for your convenience. That means that if you make a purchase, I will receive a small commission at no extra cost to you. Read more here.
Have you ever wished that you had a magic lamp that you could just rub and all your dreams would come true? Too bad genies don’t exist. But, hey, the good news is there’s something very real that can make your dreams come true – it’s called a vision board!
Also called dream boards or mood boards, vision boards are a visual collection of images, quotes, words, ideas, and objects that, when displayed in your home allows you to focus your energy on creating your dream life. It’s become a common way to take your New Year’s resolutions to the next level!
Basically, you hack the Law of Attraction so that you can achieve your future goals!
Now, this might sound like snake oil and magic genie lamps all over again to you, but visualization has been used for THOUSANDS of years — it’s very real and very powerful!
Today I am going to show you how I created my 2021 DIY vision board — aka, dream board — so that you can copy my ideas and techniques to make your own ultra-powerful visions board.
Let’s do this!
✨ UPDATE: My vision board CAME TRUE! I hit 100,000 followers on YouTube after one year, got name-dropped in the Top 20 minimalism blogs of all time, and nailed all of the goals on my vision board – JUST WOW! I will include the video where I review all of my tips and progress that proves vision boards actually work.
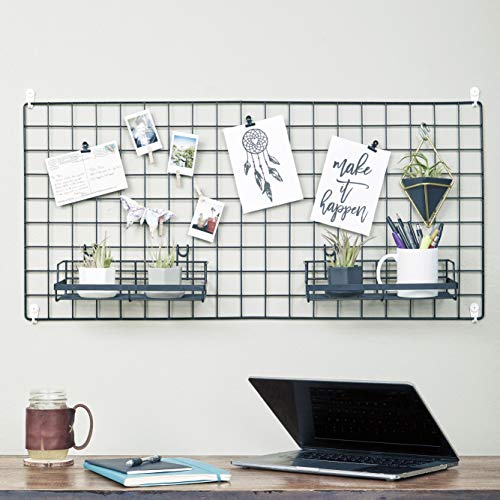
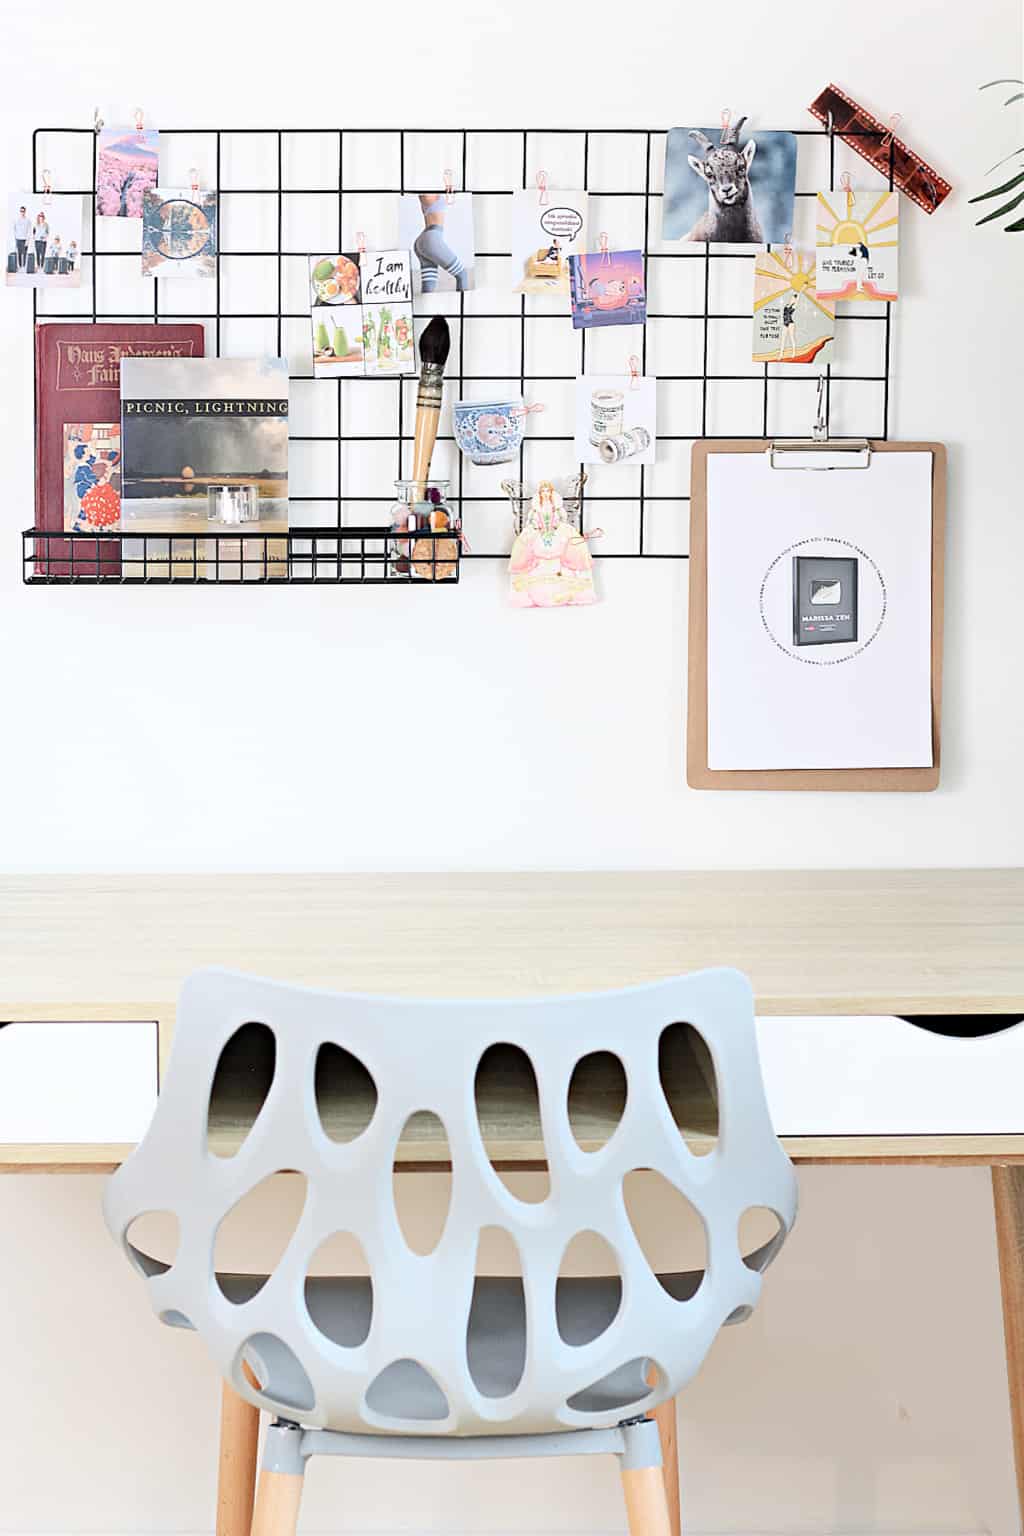
DIY wall grid dream board:
My dream board was created using a metal wall grid, but of course, you could use the tips and ideas to make literally any kind of dream board you want.
Once you know the basics, you can easily change up your board to suit your particular space and style.
What you need to make this DIY wall grid:
- A metal wall grid (mine is black, but rose gold is also beautiful)
- Extra clips or shelves (as necessary)
- Screws or straps for hanging (should be included)
- A printer that can print cardstock or photos (or printing service, like Staples)
- Scissors
- A power drill (unless you are just taping or making a collage)
If you DON’T have a printer that can print cardstock or photos, you will need to print your images on paper, cut them out, then glue them to your cardstock, and cut them out again.
Ask me how I know…I wish we would have been more careful and chosen a better printer — I miss our old HP printer. 🙁

How to Make a Vision Board [10 Steps]
Before you get started on your dream board, you should think carefully about what kind of board you want to create.
There are so many types of dream boards, including digital, collage-style dream boards, and bullet journal boards.
Make sure that the dream board you choose to make matches your favorite aesthetic because it’s going to be something you are staring at on a daily basis — you want to feel positive and inspired by your board!
As opposed to bored by your board, hehe.
(Yes, I went there.)
1. Write down your goals
Sit down with a pen and paper, a journal, or even just your phone’s notepad and jot out your future goals.
Think about what you are trying to achieve and what time frame you are working with, which will dictate if you update your board throughout the year or only once for New Year’s.
Feel free to dream big!
Common goals include:
- buying a house
- saving money or paying off debt
- buying a car
- getting in shape or eating healthier
- finding true love or getting married
- reading more books
- landing your dream job or a pay raise
- and more…
2. Start collecting vision board ideas
Now that you have an idea of what future goals you are working towards, it’s time to start collecting ideas!
Of course, the ideas you collect should strongly symbolize the goal you are working towards. You don’t want just any old ho-hum items.
You want super powerful ideas that inspire you when you look at them!
Things you can put on your board:
- Images – you can use magazines but I would recommend starting a board on Pinterest and saving images from there or directly from Google searches — that way you can find exactly what you are looking for!
- Quotes – search for quotes related to your goals, whether it’s living minimally, eating healthier, saving money, or increasing your income!
- Words – you can choose a “word of the year” if you like, which is basically a word that sums up everything you are trying to achieve. (Common words include: balance, focus, grow, thrive, save, etc.)
- Craft supplies or lights – if you are more creative and you want to make your dream board shine you can add special crafts or even fairy lights that give it that extra special touch.
- Power objects – this is like the icing on the proverbial dream cake. If you own any items that strongly symbolize a goal or mean a great deal to you and your future dreams in some way, you might consider putting that on your board. This can include souvenirs from places you want to travel to or mementos from loved ones.
EXAMPLE: My mother died when I was nine from cancer; my dream board included a fairy card that she gave to me (one of the few things I kept when I decluttered 30 years of clutter) that reads, “May all your dreams come true”.
3. Narrow down your choices
Once you have your ideas saved, it’s time to cull the herd.
Take all the images that you have chosen and start sorting through them. Choose only the BEST images, quotes, and items that you have a powerful connection to – you want mega inspiration!
I cut my dream board ideas from around 50 to less than twenty!
READ MORE: 200+ You Are Amazing Quotes to Delight Someone You Love (or Just YOURSELF!)
4. Custom images are more powerful

In some cases, you might not be able to find exactly the image you are looking for, which means that you can create your own.
Handmade vision board images, quotes, and crafts are even more powerful since you are tailor-making them yourself, pouring your time, love, and positive energy into their creation.
To the right, you can see an image I made myself for my board.
My goal is to be able to have a 10-minute conversation in German by the end of 2021 (we moved to Germany after decluttering our home down to eight suitcases), so I created used a favorite image of myself with the words, “I speak excellent German“.
Except I used German, of course.
5. Print & cut out your ideas
Now that you have your amazing ideas, it’s time to start printing them out and cutting them to place on your board.
Or if you like a messier, more artistic board you could also tear them out of magazines, should you be using those.
I like mine nice and tidy, with clean straight lines.
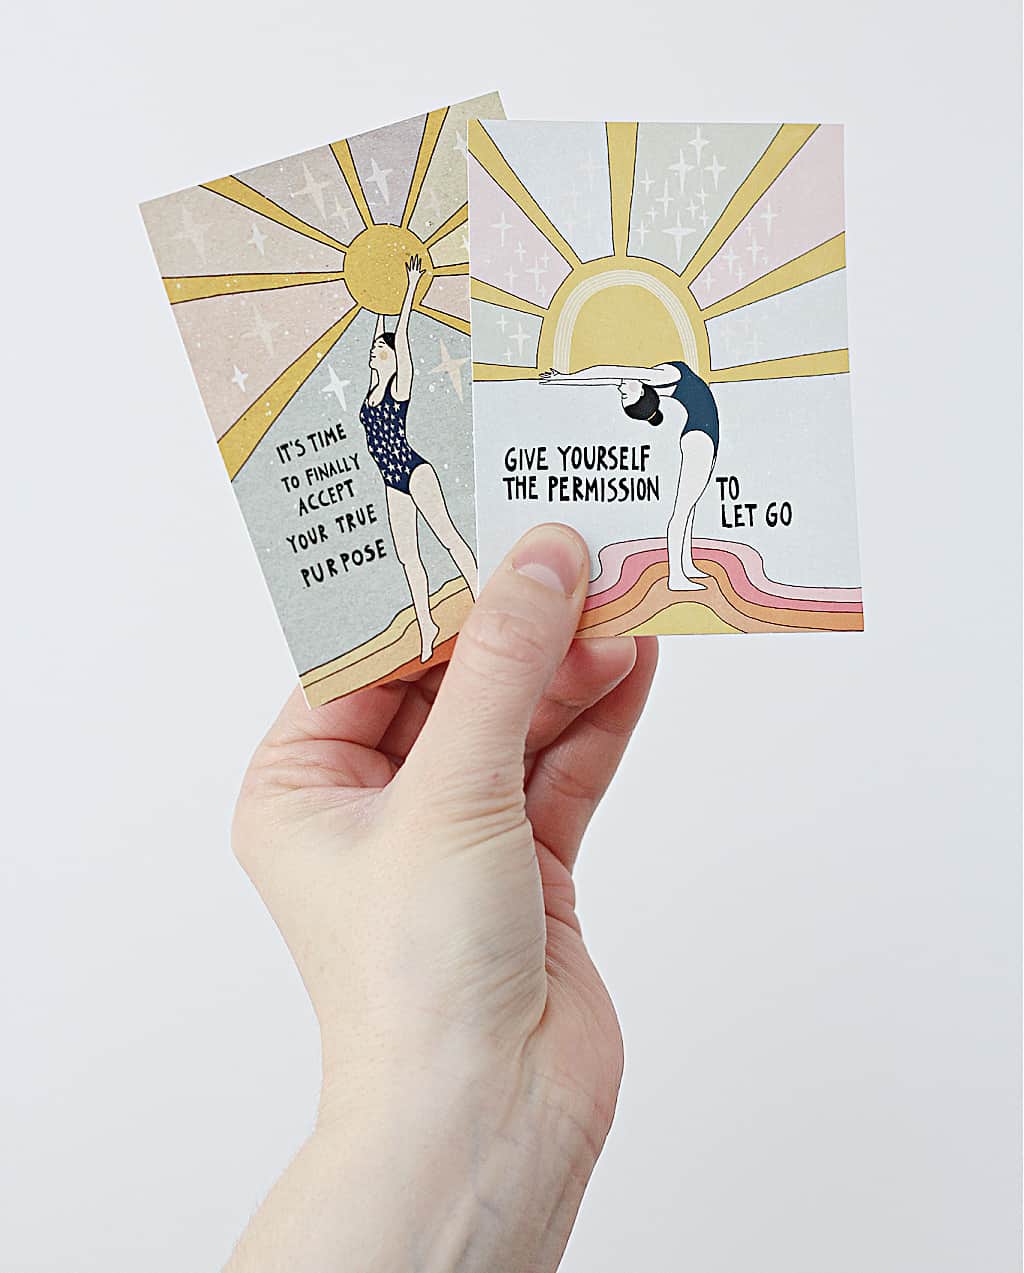
MORE POWERFUL QUOTES: See these prints and more incredible and inspiring printables from Asja Boros.
6. Drill holes & hang your wall grid
Think carefully about where you want to put your vision board.
Your board needs to be in a place where you will see it on a daily basis. It should be in a highly visible location like your bedroom or office.
Most of the metal wall grids come with their own screws and straps, so all you have to do is drill the holes.
Make sure you make the drill holes nice and even and use a leveler if you need to (our secret is using painter’s tape and making marks on that point before we drill!)
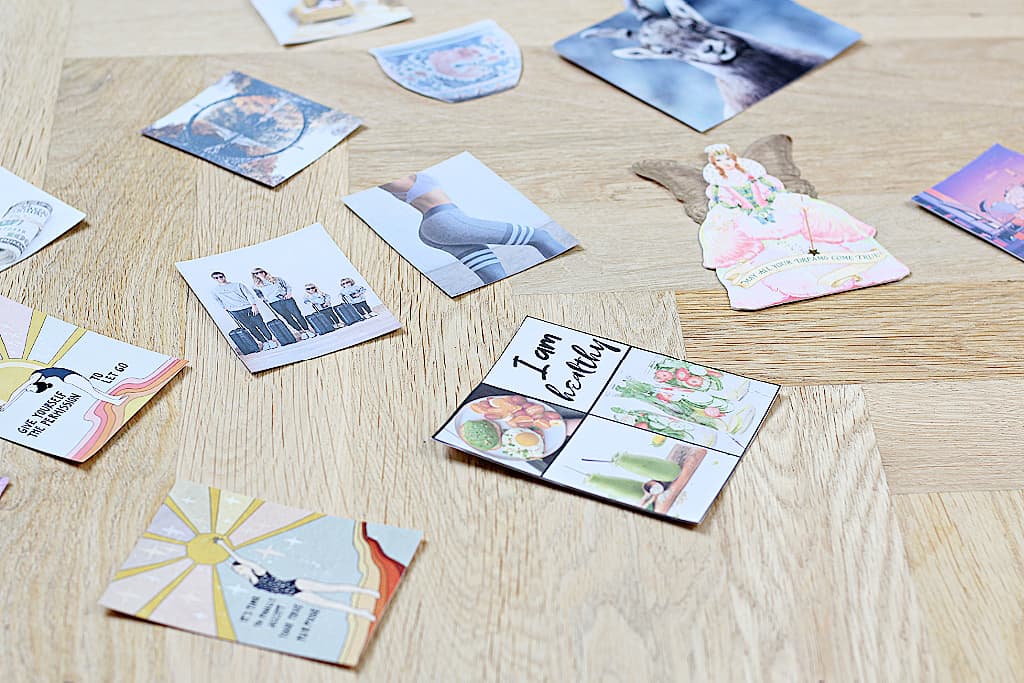
7. Brainstorm your layout
Before you start adding the chosen images and ideas to your board you might like to first lay them out on the floor and get an idea of where you like to put things.
(If you are making a collage image, do this before you start gluing or taping!)
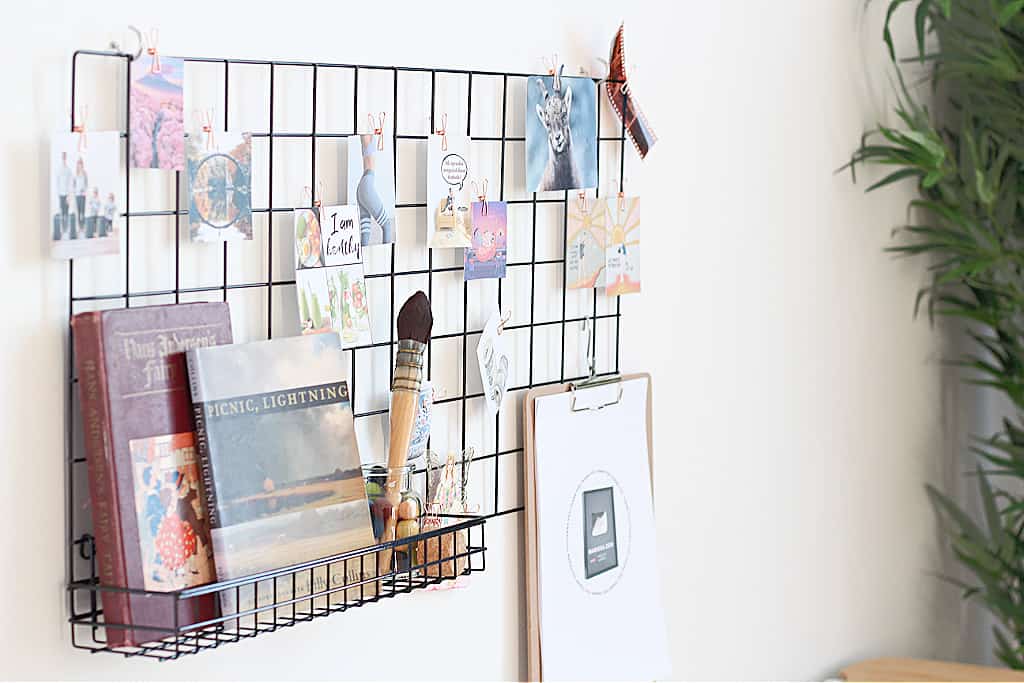
One great thing about using the wall grid is that the clips can be unclipped and moved easily if you aren’t satisfied with the final look.
See if you like how the colors and the images are harmonizing and working together and then move on to the next step.
8. Start adding stuff to your vision board
You have the perfect images, you know where everything is going to go, and you are ready to start making your board!
Begin to place the beautiful pictures, words, and other items on your dream board.
Don’t be afraid to move them around if you aren’t satisfied — again, you want to feel motivated and inspired when you look at this mood board.

9. Look at it daily
I purposely chose my office to display my dream board, so that my goals are right there in front of my face on a daily basis!
I hope you also chose a highly visible place to display your dream board so that you can see it on a daily basis. It’s a great reminder!
I have already been drinking more water, exercising, and eating healthier because I see this inspirational wall grid every day.
10. Make Your Vision Board Work, Work, Work!
Want to know the secret to making a dream board that actually works?
- Make your dream board – since you are reading this post, you already know how to do that!
- Fake it until you make it – that means that you need to believe the goals and dreams you have are already your present reality – don’t say, “I want to buy a house” but instead say, “I am living in my dream house”. This is one of the biggest Law of Attraction secrets.
- Go out there and CHASE your dreams – do not, I repeat DO NOT think you can just sit there and wait for your future to come to you. You’ve got to get out there and work for it! The Law of Attraction is also the Law of ACTION!
What you think you become. What you feel you attract. What you imagine you create.
more Vision board tips for the Law of Attraction
If you are a total LOA newbie, you might find it helpful to read The Secret, which is one of the best books on the Law of Attraction — it’s the original!

Check out my incredible vision board success story!
Watch the video and you can see how my vision board came true!
Pin this post!
Loved it? Pin it!
Save this to your Pinterest board so you can make your dreams come true!
How to Make a Vision Board THAT ACTUALLY WORKS - 10-Step Guide

Find out how to make a magical vision board that works in 10 easy steps and bring your goals and vision for the future to light with the Law of Attraction!
Materials
- Metal wall grid
- Extra shelves or clips (as necessary)
- Screws or straps (should be included)
Tools
- Printer (or printing service)
- Power drill
- Scissors
- Leveler (optional)
- Painter's tape (optional)
Instructions
- Write down your goals and dreams for the future. Take your time and do this with a positive mindset.
- Collect ideas for your dream board. This includes images, quotes, words, objects, or other items that inspire you.
- Narrow down your ideas. Start to cut out any items that don't make you feel ultra-inspired.
- Make your own custom images if you can't find the perfect image (see notes in the blog post.)
- Print & cut out your ideas.
- Drill holes and hang your wall grid. (Alternatively, change collage or other vision board in a highly visible location.)
- Brainstorm your layout. You can lay items out of the floor and see how they look before placing them on your board.
- Add your inspiration to your dream board.
- Look at your mood board every day.
Use the Law of Attraction and take ACTION to make your vision board work, work, WORK!
Notes
More specific Law of Attraction tips and ideas in the blog post above.
Recommended Products
As an Amazon Associate and member of other affiliate programs, I earn from qualifying purchases.