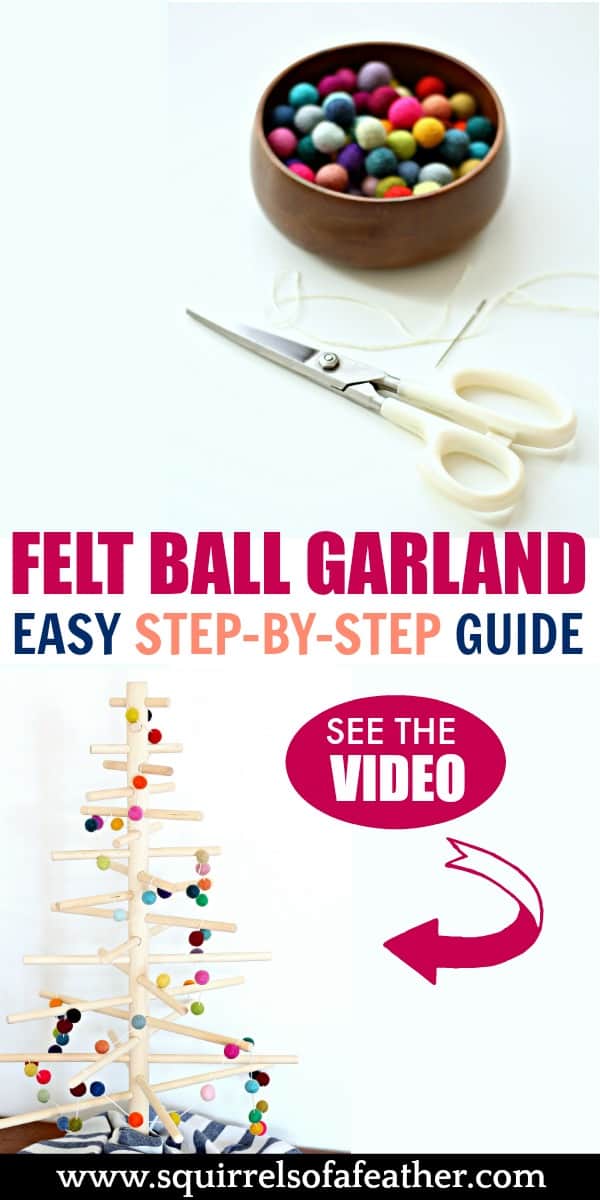
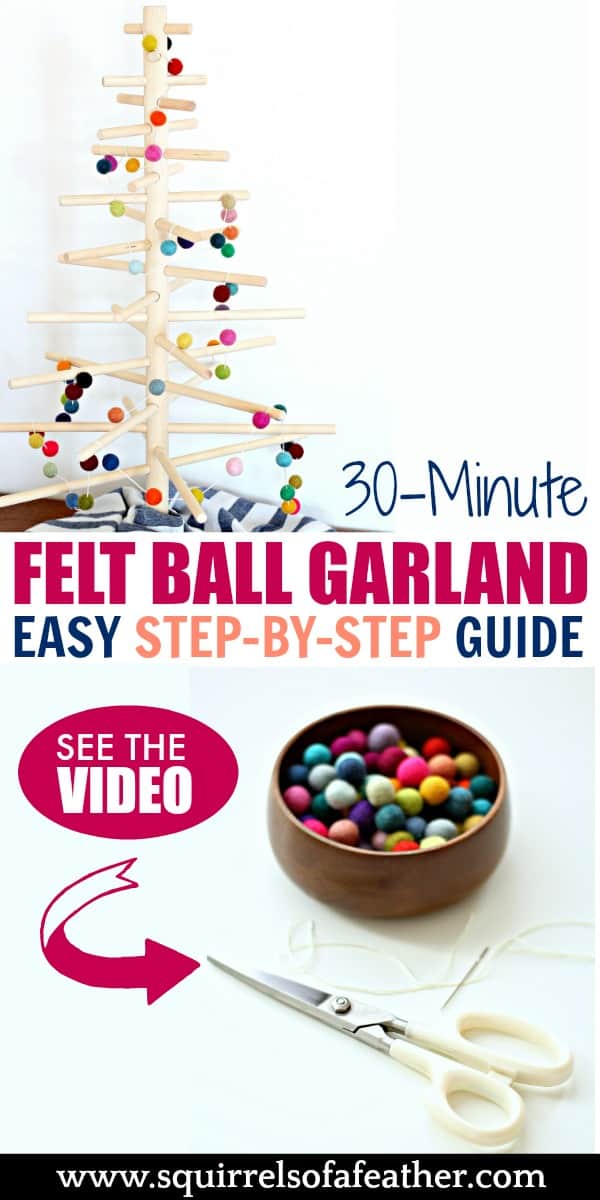
This colorful felt ball garland is so versatile and easy to make! You can use this garland to decorate your Christmas tree, to add a DIY touch to any party, or as tasteful decor in your child’s nursery. You can make this DIY garland in any color of the rainbow!
Don’t skip to the end – make sure to read every detail for all the helpful tips and tricks, such as knowing how many felt balls you need to make a garland.
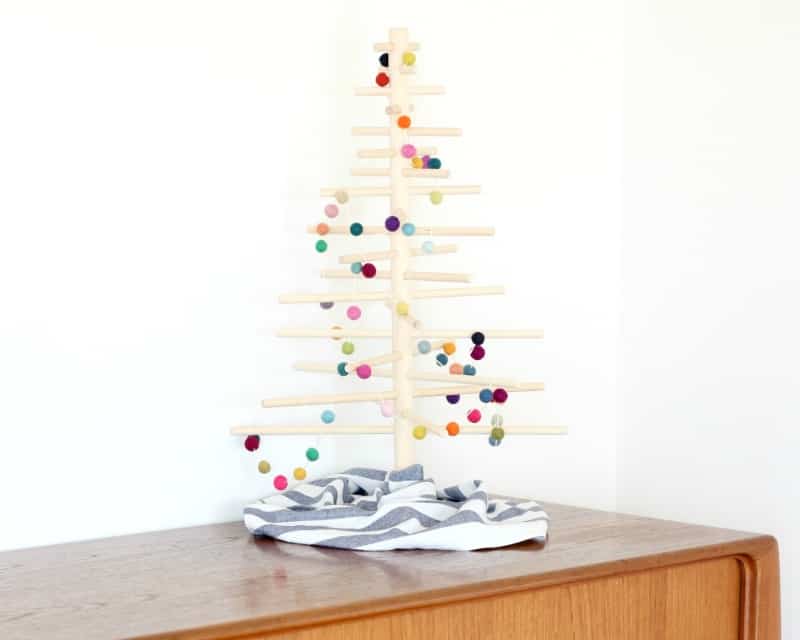
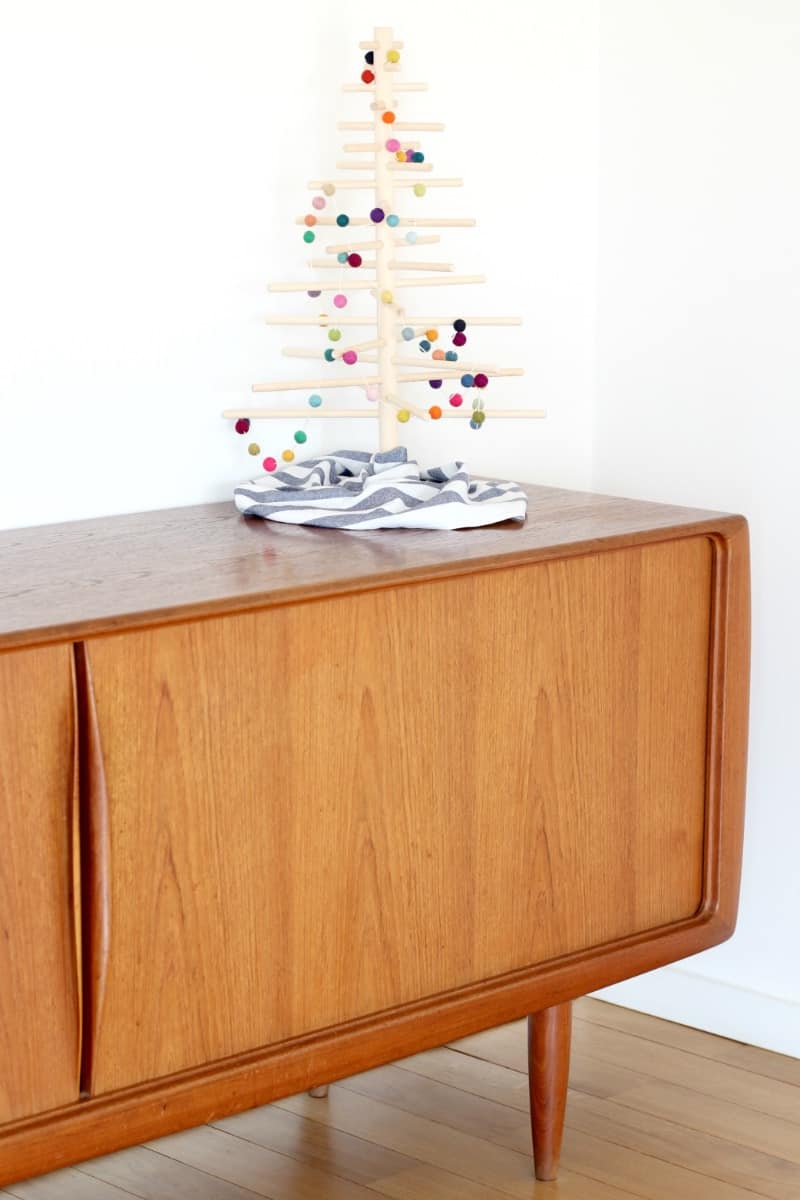
My kids loved coming home and seeing this colorful felt ball Christmas garland adorning our minimalist tree!
This post may contain affiliate links for your convenience. That means that if you make a purchase, I will receive a small commission at no extra cost to you. Read more here.
Quick & Easy Felt Ball Garland
The felt ball garland method seen here will help you make a beautiful garland in under 15 minutes, in a way that will allow you to later easily repurpose the felt balls for other projects.
I am a big fan of creating minimalist projects that can be deconstructed and used for other projects at a later time, which is great if you are making this felt ball garland for Christmas or a party.
If you want a more permanent garland I can teach you how to do that as well!
What you need to make your felt ball garland
This garland uses very few supplies; if you are crafty you probably have most of these laying around the house!
If not, here are the items you will need to make this garland.
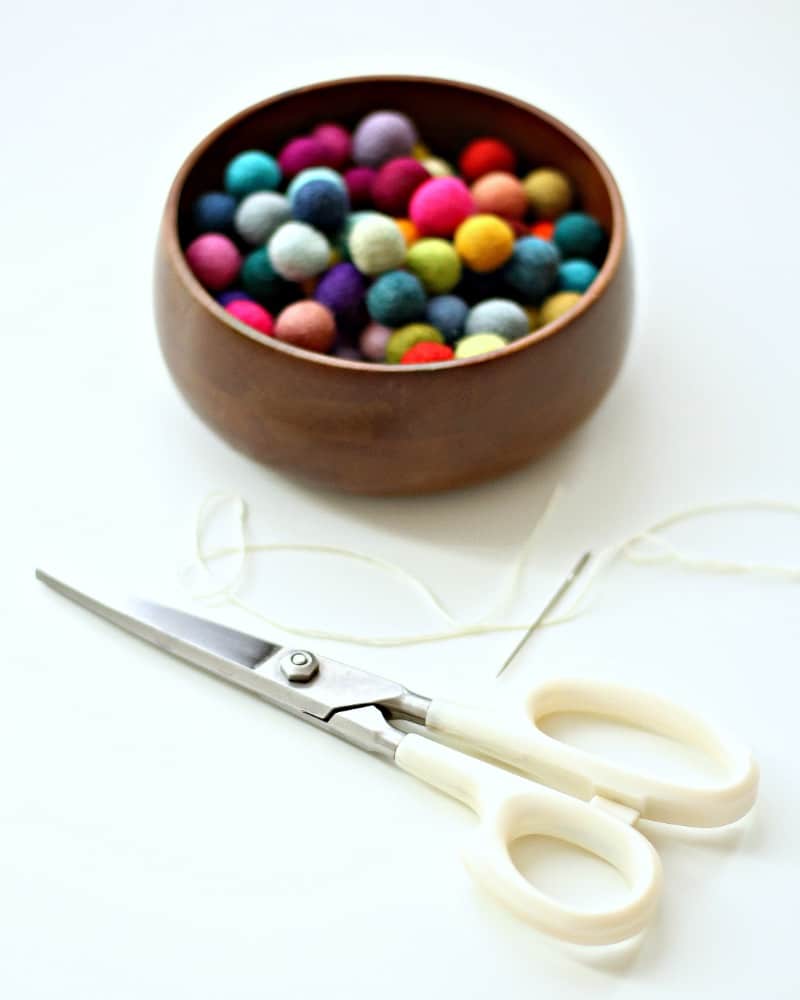
- Felt balls
- Embroidery thread
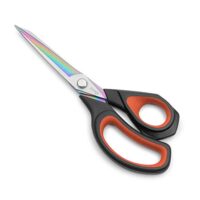
- Scissors
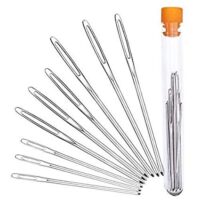
- A medium-to-large wool needle
- A small bowl (for containing your felt balls)
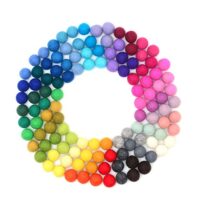
The felt balls that I used for this project came in a rainbow of colors and were 100% New Zealand wool. I love how they turned out for this project and used the garland on our wooden dowel Christmas tree from last year.
What size felt balls to use for this garland?
I used 15 mm felt balls for this project. If you want your felt ball garland to have a chunkier look, increase the size of your felt balls to 20 mm size or even 25 mm.
Match the embroidery thread to your felt ball project.
Grab some from your local Michael’s or Hobby Lobby so that you don’t have to buy a bunch of different colors online.
Protip: using a small bowl to keep your balls all in one place as you are making the garland really helps keep things neat and tidy!
How many felt balls to make this garland?
You are probably going to need many more felt balls than you think!
I used around 80 felt balls to make a 10 foot long felt ball garland. This just barely covered my miniature wooden dowel Christmas tree.
If you want to create a garland for a full-sized Christmas tree I would suggest taking the string and measuring it out in advance before you start adding the felt balls.
To keep the garland from becoming unmanageably long, don’t cut the string any longer than 10 feet.
If you want a garland that is longer than 10 feet you have two options:
- Make multiple felt ball garlands and hang separately
- Make multiple felt ball garlands and sew them together
If you want to make a very long garland, after finishing the first 10 feet simply begin another 10-foot segment but cutting another thread (cut to length) and attach it by sewing it to the very last felt ball from the previous garland.
Make sure you don’t get your garland tangled up while you are making it!
Give yourself and your garland plenty of room to spread out.

Do you need to sew each ball on the garland?
Because the felt balls are very dense, I chose NOT to tie off each ball on my felt ball garland. I tested by trying to move the balls around, back and forth, and found they did not slide easily.
It is also quicker to make.
Unless you are going to be moving this garland around a lot or it’s going to be handled often, you do not need to individually sew each ball into place — this also means you can easily remove all the felt balls to repurpose later.
If you want a more permanent felt ball garland, you can sew each ball individually into place – that will take this project from 15 minutes to more like 30 minutes.
To sew each ball in place, just put the ball on the garland as seen in the tutorial, but then take the needle and reinsert it into the top of the felt ball and sew it as if you are finishing off a thread project.
Continue to thread and sew with the rest of the balls.
Make sure you are happy with the positioning of the balls before you sew them, otherwise it will be very hard to adjust later.
How to make a felt ball garland
Here are all the steps to making your felt ball garland; watch the video to see the garland in action! You can view the video in the post above OR check it out on YouTube now.
- Measure and cut your thread – Measure out your desired length of thread (remember, no longer than 10 feet) and cut.
- Thread the needle – Thread the embroidery thread through the needle; leave a little extra thread hanging down.
- Begin threading the felt balls onto the garland – One at a time, thread the balls onto the garland, leaving about two fingers of space between each ball. If you want to make a very tight felt ball garland with no space between the balls you will need many, many more balls — I would guess about 4 times as many balls.
- Continue until all balls have been threaded and tie off the end – Just tie off the end with a simple know and you are done!
Have fun decorating with your garland!
I hope that you enjoyed this quick and easy DIY felt ball garland tutorial! If you have any questions, drop them in the comment section below.

How to Make a Colorful Felt Ball Garland in 15 Minutes (w/Video)
This colorful felt ball garland is so versatile and easy to make! You can use this garland to decorate your Christmas tree, to add a DIY touch to any party, or as tasteful decor in your child’s nursery. You can make this DIY garland in any color of the rainbow!
Materials
- Felt balls
- Embroidery thread
- Medium or large wood needle
Tools
- Scissors
- A small bowl
Instructions
- Measure out your desired length of thread (remember, no longer than 10 feet) and cut. Tie off the far end with a knot.
- Thread the thread through the needle, leaving a little extra thread on the other side.
- Thread the felt balls onto the garland, pushing to the end, and leaving around two finger-widths of space between. (Sew each ball in place if desired - see notes).
- Continue until all balls have been threaded on the garland.
Recommended Products
As an Amazon Associate and member of other affiliate programs, I earn from qualifying purchases.
-
 Glaciart One Wool Felt Balls, Felt Pom Pom Balls (120 Pieces) 1.5 Centimeter - 0.6 Inch, Handmade Felted 40 Color (Red, Blue, Yellow, Gray, Pastel and More) Bulk Small Puff for Felting and Garland
 -
Hekisn Large-Eye Blunt Needles, 9 Piece Stainless Steel Yarn Knitting Needles, Sewing Needles, Crafting Knitting Weaving Stringing Needles,Perfect for Finishing Off Crochet Projects (Silver) (9)
-
LIVINGO Premium Tailor Scissors Heavy Duty Multi-Purpose Titanium Coating Forged Stainless Steel Sewing Fabric Leather Dressmaking Softgrip Shears Professional Crafting (9.5 INCH)
Pin this project!
Julie Briones says
Great tutorial… It takes SO many felt balls! I can’t imagine creating a garland for a full-size tree that has all the balls right next to each other! Crazy (expensive, too!) Pinned, dear heart!
Marissa says
Agree totally, Julie! You definitely need way more balls than you think, even for a small project! The good thing is that they can be repurposed for other projects afterward. I have a few ideas on more ways to use them. 🙂