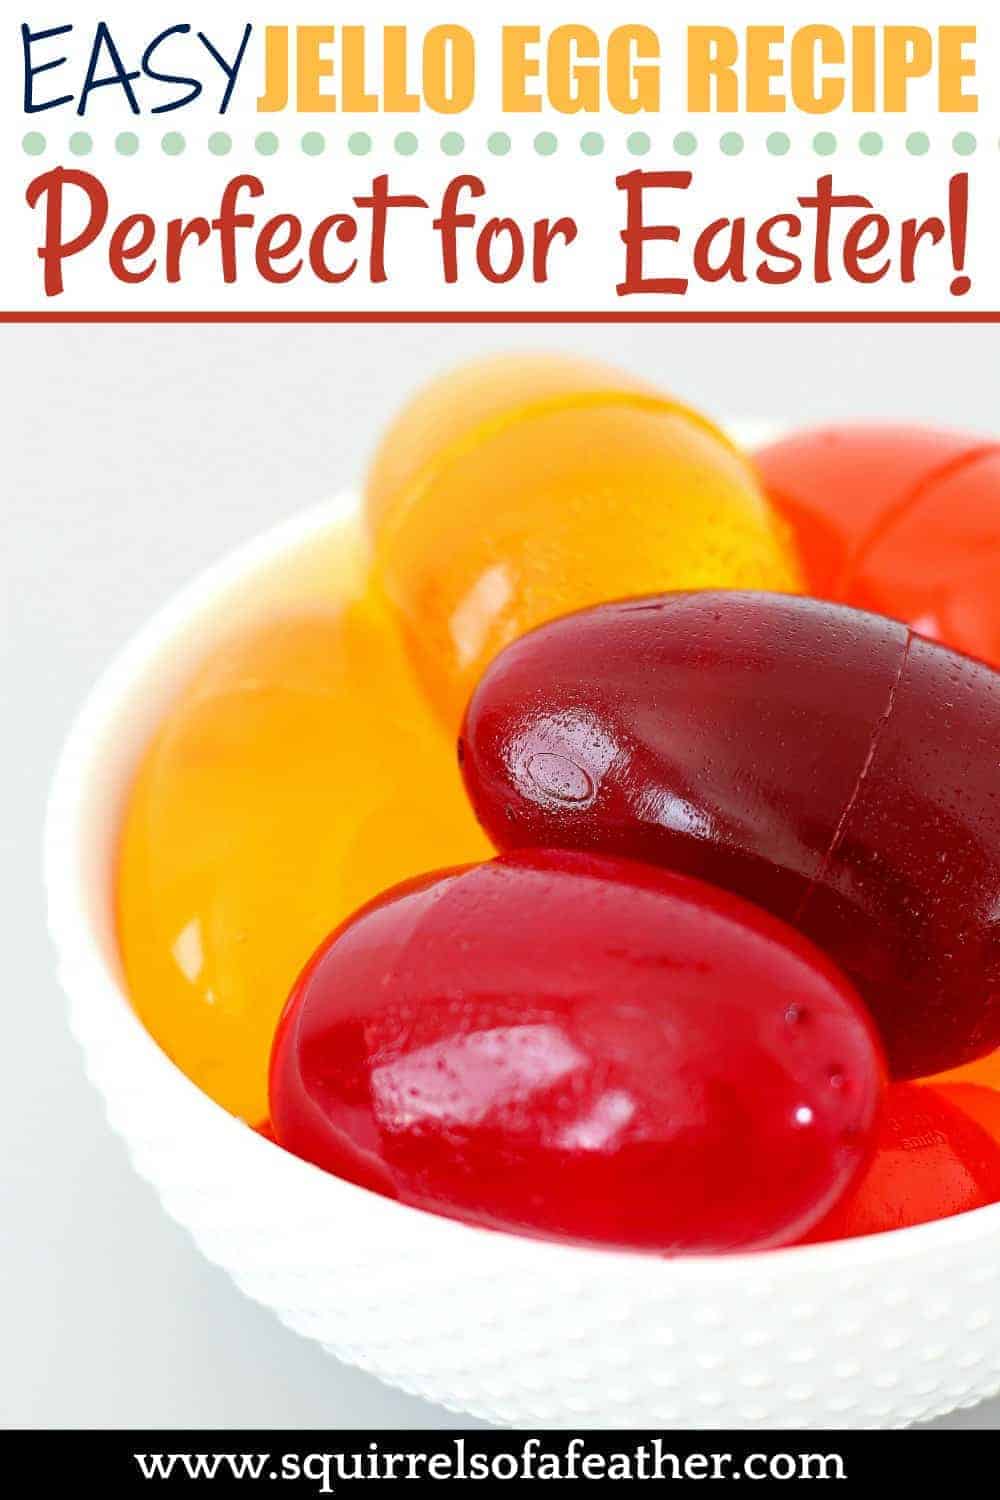
Want to make Jello eggs for Easter but you can’t find the coveted Jello jiggler egg molds? Fear not, your Easter party is safe — today I will teach you how to make Jello eggs yourself from plastic eggs, no vintage jello egg mold required!
Get all the best tips to make your own DIY jello egg mold, along with the perfect Jello egg recipe.
Easy recipe and DIY Jello egg mold for Easter
Why make Jello eggs for Easter?
The question you should be asking yourself, my friend, is why not make Jello eggs for Easter?!
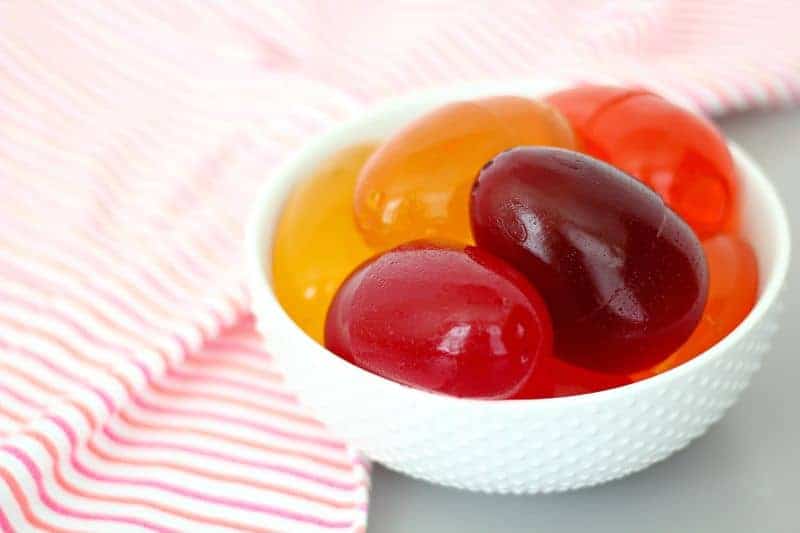
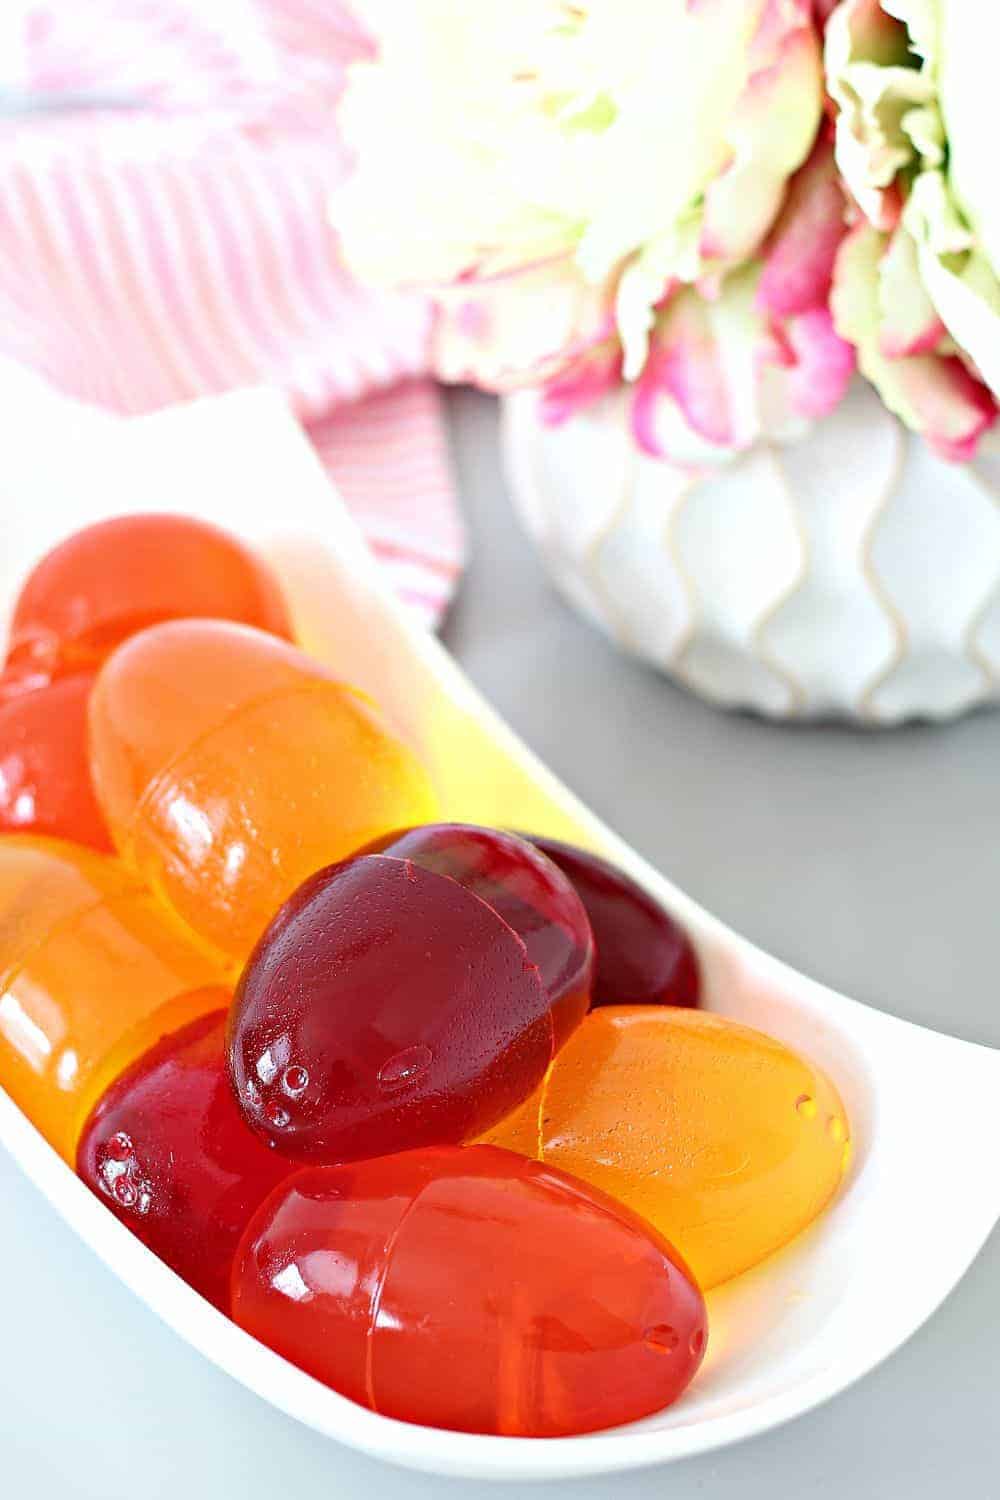
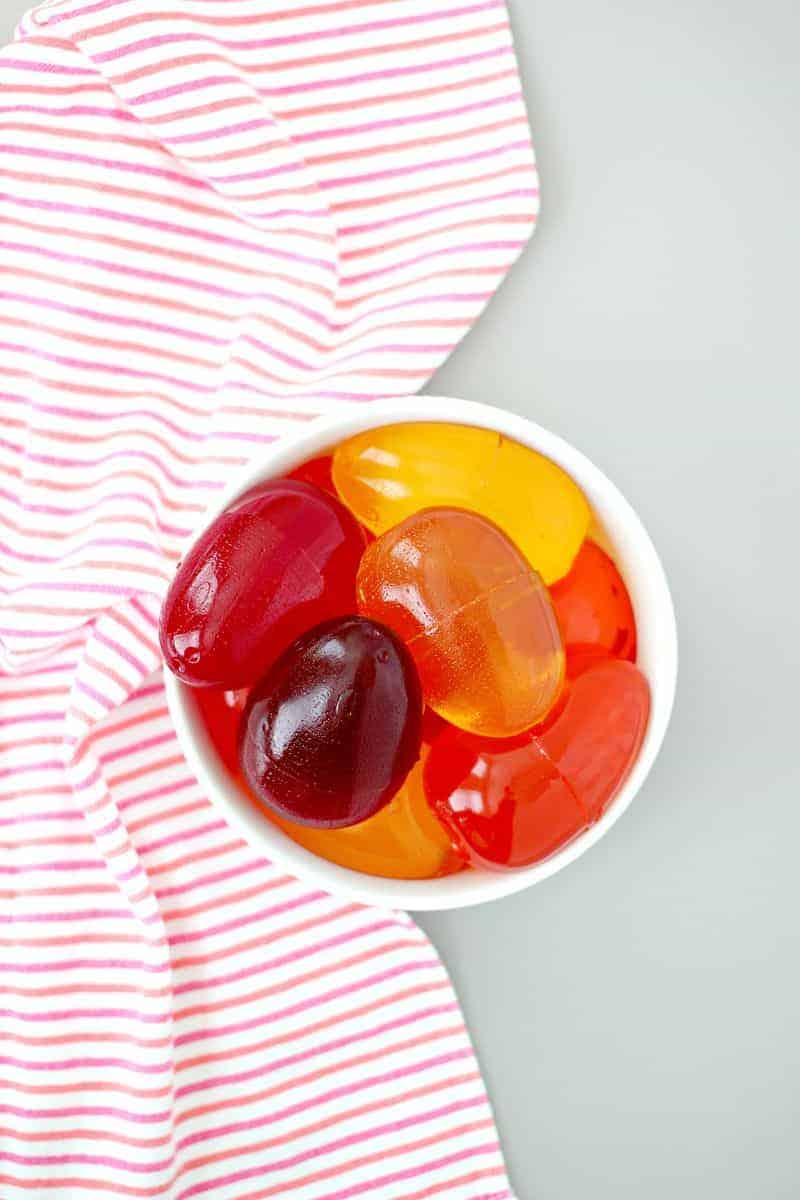
Making Jello eggs for Easter is a super fun time-honored tradition; they look impressive sitting on a white bowl on your table and are a delightfully jiggly addition to any Easter party.
They also make a great edible sensory play activity for kids (or adults, hey no judgment).
This post may contain affiliate links for your convenience. That means that if you make a purchase, I will receive a small commission at no extra cost to you. Read more here.
How to make Easter egg jello molds
Once upon a time, you could purchase Jello Jiggler Easter egg molds in any store; today, those 3D jello egg molds are very difficult to find!
If you don’t have any vintage egg molds, I am going to teach you how to make your own Easter egg Jello molds using items from the $1 store or Target.
I will admit that this method is more involved than “make jello and pour into egg mold” directions you can get with the 3D jello jiggler Easter Egg molds.
I do still believe the easiest, fastest, and most reliable way to make beautiful jello eggs is a gelatin egg mold. You can grab a 3D jello egg mold that can last for generations by clicking this link.
How to make Jello eggs from plastic eggs:
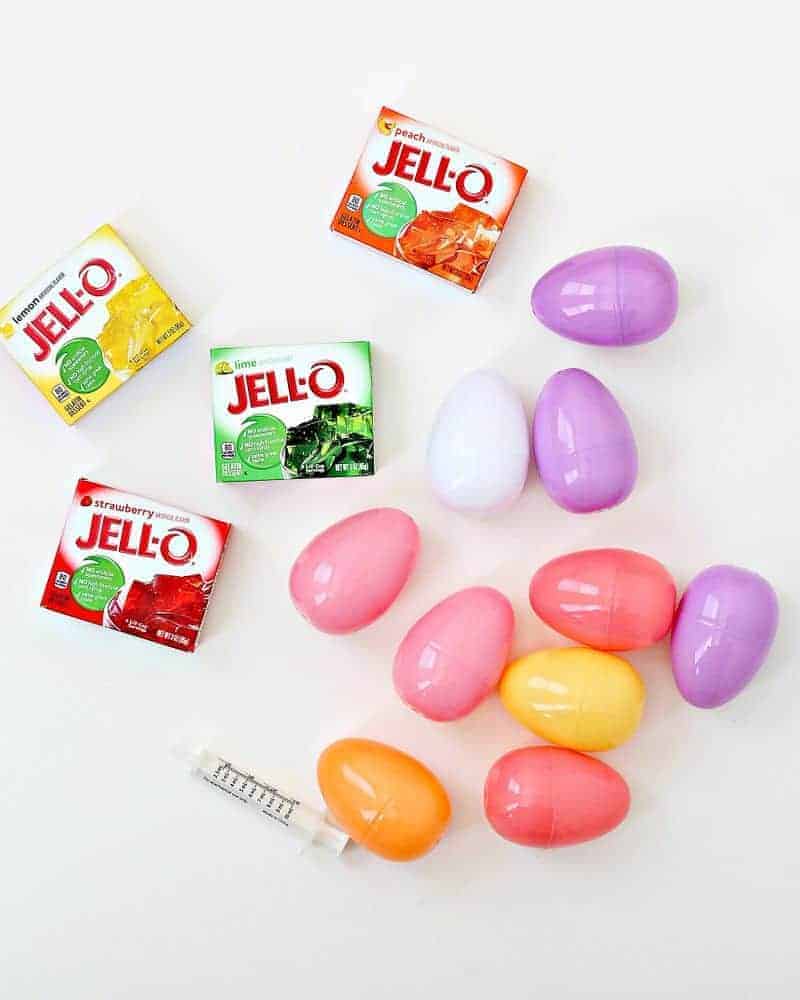
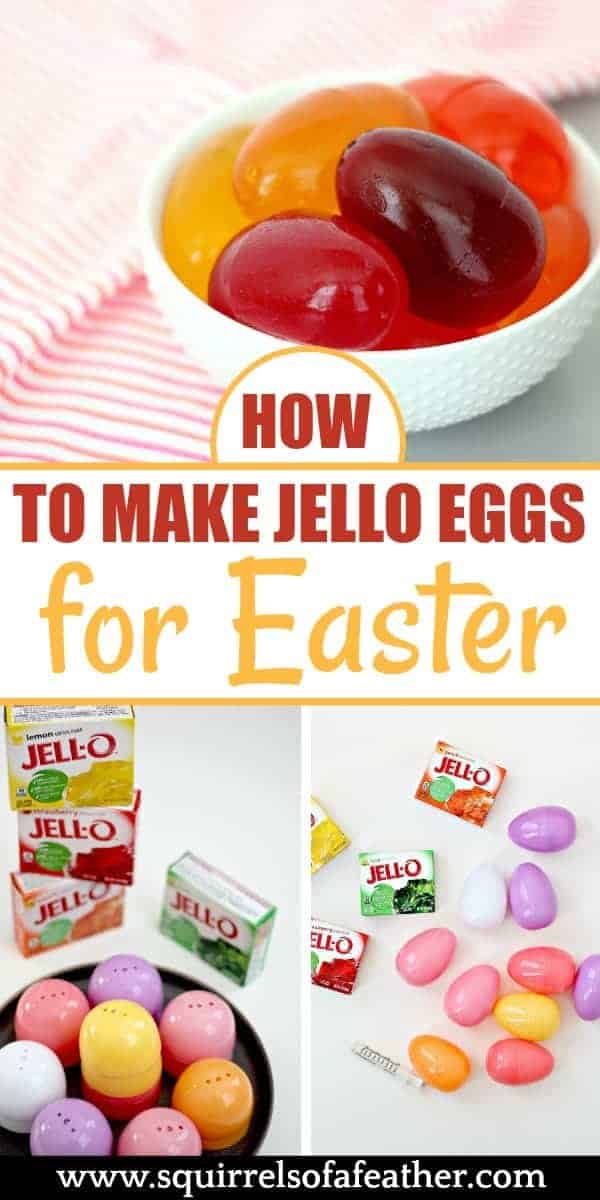
Supplies to make Easter egg Jello molds:
- Plastic Easter eggs (I got mine for $1 at Target)
- Hot glue and a glue gun
- A drill and 3/16 drill bit (this is the kit I have)
- Food safe syringes
- Jello packets (have plenty on hand, in different colors)
- Cups or muffin pans
- Baking sheet
- Cooking spray
The amount of Jello and water you need is going to vary depending on the size of your plastic eggs and how many you need for your party.
The cups, muffin pans, and baking sheets will be for holding/moving the Jello eggs while you are making them!
How to make Easter Jello eggs
Here are all the steps to make Jello Easter eggs:
1. Assemble your supplies
Gather the supplies listed above and get everything in one place.
You will feel weird associating Jello with power tools — embrace the weird, my friend.
2. Drill the holes
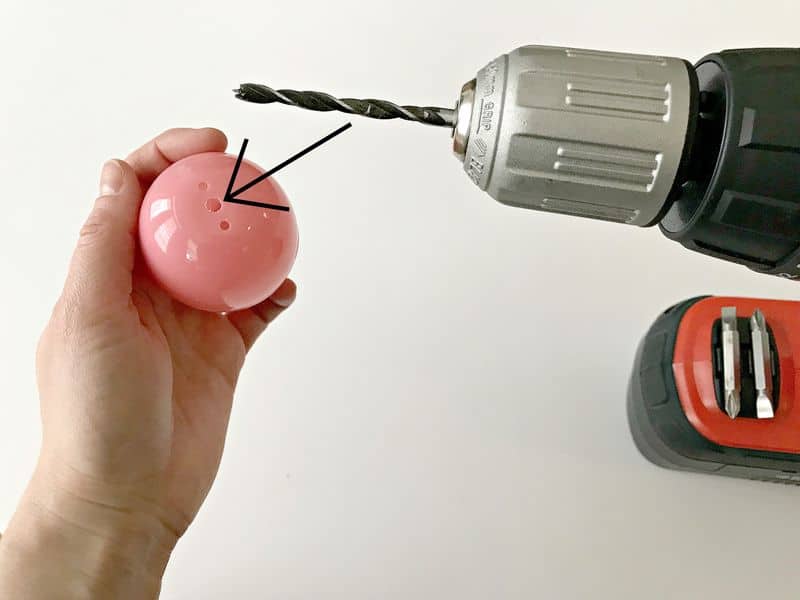
Taking the LARGE end of the Easter eggs and drill one hole in the very center of the bottom.
The size of your drill bit will depend on the size of the syringe you are using.
My egg already had two holes on either side of the center, so I put a slightly wider hole right in between (see the picture with the arrow indicating hole).
If your egg does not have extra holes, drill another hole to the side — this is going to help the air vent out when you are adding the liquid Jello!
*Please DO NOT hold the plastic egg in your hand while drilling the hole — place the egg in a secure location and drill the hole slowly and carefully.
I am holding the egg ONLY to show you the location of the hole.
3. Wash, dry, and prepare your eggs
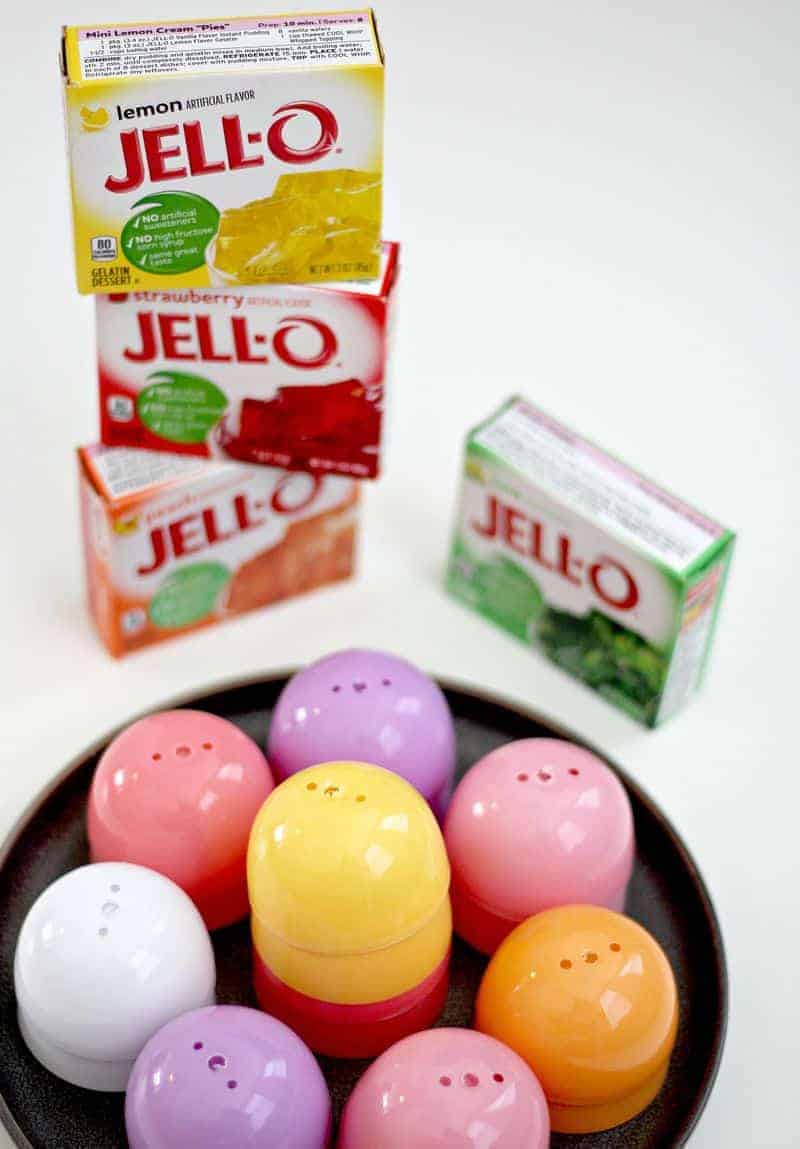
Take all of your eggs apart and wash thoroughly inside and out. Allow them to air dry fully or dry yourself before moving on to the next step.
(I think they look like little peeping chicks!)
4. Hot glue and spray the egg molds
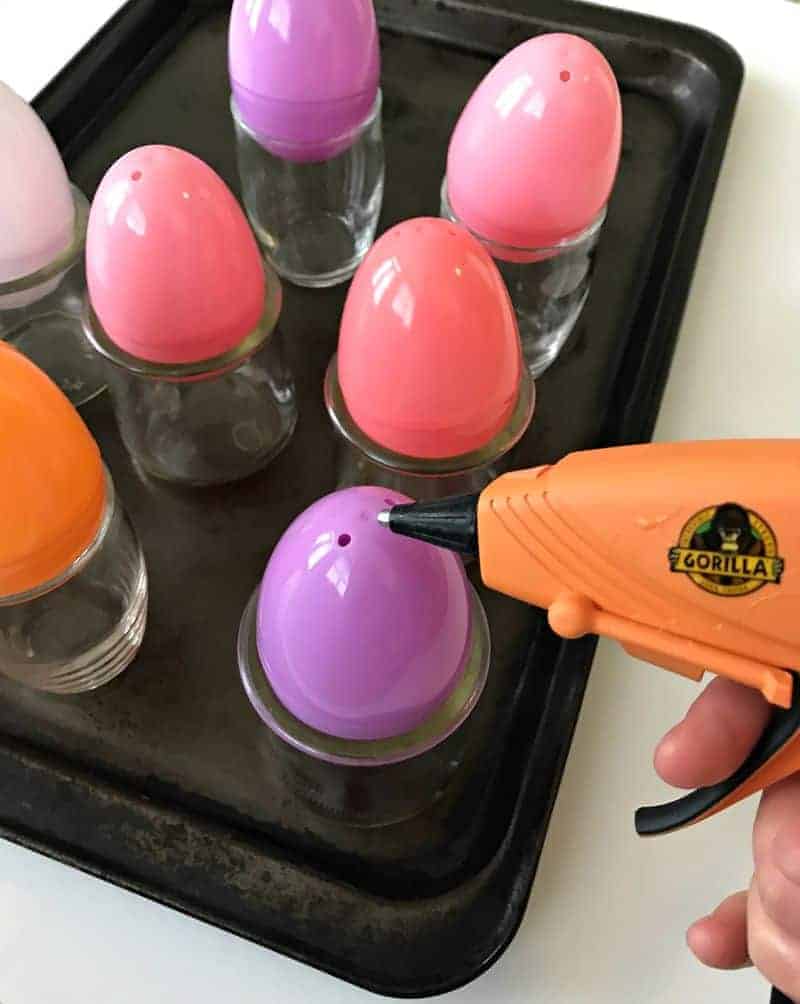
Take all of your eggs and place them small-side-up in the cups or muffin pans.
You want them to be held firmly in place. (I put my cups on top of a baking sheet so I could move them all at once easily.)
Heat up your hot glue gun and have glue sticks at the ready.
Using the hot glue gun, quickly apply hot glue generously to close the holes at the small end of the plastic eggs (obviously if your eggs don’t have holes at the small end you can skip this step).
Allow the hot glue to dry 10 minutes before the next step.
Once all of your eggs are fully dry, open and spray the insides lightly with cooking spray — this is going to help the eggs release nicely. Don’t skip this step! Close again after they have been sprayed.
*Why use hot glue instead of tape/plastic wrap/etc? I tested all other methods for creating these egg molds and all of them leaked horribly. In the end, hot glue was the only thing that sealed the egg molds completely.
*Is hot glue food safe? According to Dr. Google, hot glue is non-toxic – I felt okay using this small amount of glue and allowing to dry/cure for 10 minutes. BUT! I am not a doctor and I can’t tell you for sure it’s okay — if you are worried, I would suggest you buy the Jello egg molds from Etsy instead to be safe or using something like these sphere molds to make Jello balls, which are also very fun.
5. Prepare the Jello
While the glue is drying, prepare the Jello.
Add 1 cup (8 oz) of water for each package of Jello. – this is what will give you the “jello jiggler egg” texture over regular jello consistency, which may fall apart.
You will not need to add any cold water and this is 1 full cup less than the typical Jello recipe – reducing the water and using only boiling water will help the gelatin molecules for a stronger bond, resulting in denser and firmer jello.
Keep all the various colors separate.
6. Fill the eggs with Jello
After the glue has dried, flip the eggs so that the large side with the open holes faces up.
Taking the 10 ml syringe, use it to suck up the liquid jello and then insert the syringe into the 3/16 wide hole in the bottom of the egg. Press on the plunger to eject the liquid Jello into the egg.
Go slowly, otherwise, you risk blasting the glue off of the bottom of the egg.
I found that the best method is to:
- Insert the syringe
- Tilt the syringe towards one side of the egg
- Slowly press the plunger until empty
- Repeat until all eggs are filled!
7. Refrigerate Jello eggs
Once all of your eggs are filled to the brim, place them in the fridge.
Put them in the refrigerator for 8 hours or overnight (overnight preferred).
8. How to remove Jello eggs from the egg mold
Once your eggs have set completely, it’s time to remove them!
How to remove jello eggs from the mold:
- Using your finger to block the holes at the bottom, hold the egg under warm running water for a 10-15 seconds.
- Press around the seams of the egg to try and loosen the egg.
- Very slowly and carefully press the seams of the egg halves until it opens and then slowly remove 1/2 of the egg mold.
- After you get the first half off, smoosh around the bottom half to loosen the egg and then gently tilt it out onto a plate or bowl.
If you go too fast your eggs might fall apart into two pieces!
(Funnily enough, I found that the peach flavor was more prone to falling apart??? I have no idea why, unless I somehow just had a smidge too much water.)
9. Play and/or eat!
Keep your eggs in the fridge until you are ready to eat and then serve cold!
ENJOY THESE OTHER JELLO RECIPES:
- Magical Jello Poke Cake Recipe
- Perfect Jello Jigglers Recipe (with the Hottest Jello-Making Tips!)
- Fiery Ombre Finger Jello – Great for Moana parties or luaus!
- Giant eyeball Jello shots recipes, great for Halloween
Pin this recipe to make again!
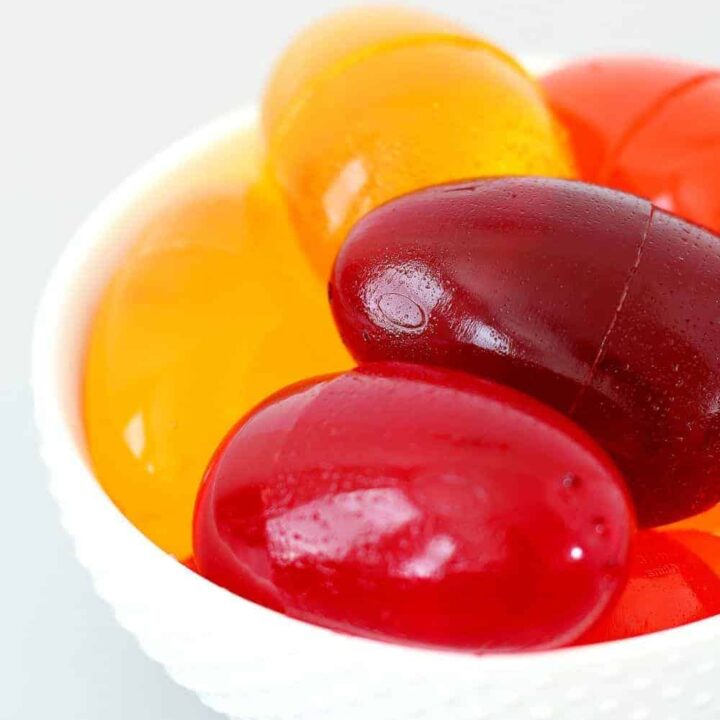
Jello Eggs Recipe + How to Make Easter Egg Jello Molds
Want to make Jello eggs for Easter but you can’t find the coveted vintage Jello egg molds? Fear not, your Easter party is safe — today I will teach you the perfect Jello egg recipe and how to make Jello eggs yourself, no egg mold required!
Ingredients
- 3 boxes (3 oz Jello, regular or sugar-free)
- 3 cups of water, boiled
- cooking spray
Instructions
- How many packs of Jello you need will depend on the size of your eggs and how many eggs you wish to make. See the post for more details. I used 3 boxes.
- Use 1 cup of boiling water for each one 3 oz pack of Jello.
- Pour the dry Jello into separate bowls for each color.
- Bring water to boil. Measure out 1 cup of boiling water and pour it into the dry Jello mix, stirring for two minutes until fully dissolved.
- Repeat for each color of Jello.
- Allow the Jello to cool for 5-10 minutes. Using 10 ml plastic syringes, fill the jello egg molds until all the liquid jello is used up.
- Refrigerate for 8 hours or overnight (overnight preferred). Run the plastic eggs under warm water for 10-15 seconds to release the Jello and remove the Jello eggs carefully from the egg molds
- Serve.
Recommended Products
As an Amazon Associate and member of other affiliate programs, I earn from qualifying purchases.
Nutrition Information:
Yield: 9 Serving Size: 1 eggAmount Per Serving: Calories: 106

Julie Briones says
LOVE these! They look so cool in the bowl! And so yummy!
Karly says
These are super cute!
Marissa says
Thanks so much, Karly! My boys had a blast eating them.
Luciana says
I loved the eggs!
Marissa says
Wonderful to hear!