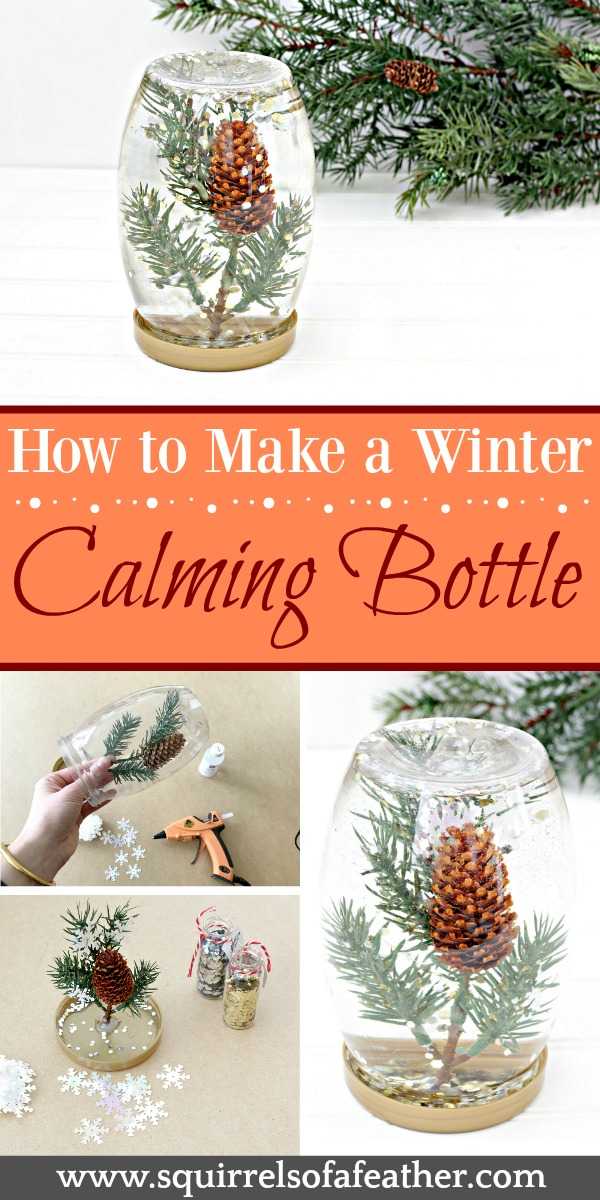
This pretty winter glitter calming bottle DIY is an easy-to-make and cool sensory activity that is sure to capture the attention of your little one. With shimmering snowflakes and shiny glitter falling like snow, this calming glitter bottle is sure to be a winter sensation!
Let’s face it, winter is a time when kids can get a little antsy from being stuck inside day after day due to cold and snow.
If you are looking for a quiet-time activity that can keep your kids fascinated during the long indoor hours, this is the perfect thing (it’s also not bad as a DIY gift idea or winter home decor!
This post may contain affiliate links for your convenience. That means that if you make a purchase, I will receive a small commission at no extra cost to you. Read more here.
Why use calming bottles?
Calming bottles, also known as sensory bottles, are a way to immerse children in a calming sensory experience, in bottle form.
Calming bottles can be filled with all sorts of colorful liquids and objects; some of the most popular bottles include colored water and glitter.
Calming bottles can be found in many classrooms and preschools; special needs children in particular love calming bottles, a fact I learned when I was working as a speech-language pathologist in schools.
But calming bottles aren’t only for special needs children!
High-energy children and children who have difficulty focusing can also benefit from sensory bottles.
There are many types of sensory play items for children, including glitter bottles, sand windows, and colorful hourglasses like the ones pictured below.

Here are some ideas on how to use calming bottles:
- As a children’s craft activity
- To calm down an overworked child
- As a time-out toy
- For quiet time or meditation play
- For a no-mess sensory play activity
- As a wonderful non-toy gift
READ NOW: Here are 37 clutter-free gift ideas that will ignite your child’s creative genius!
Winter calming bottle for children
I was inspired when I came across this Falling Leaves sensory bottle on Pinterest and realized I had all the items I would need to make my own winter sensory bottle just lying around.
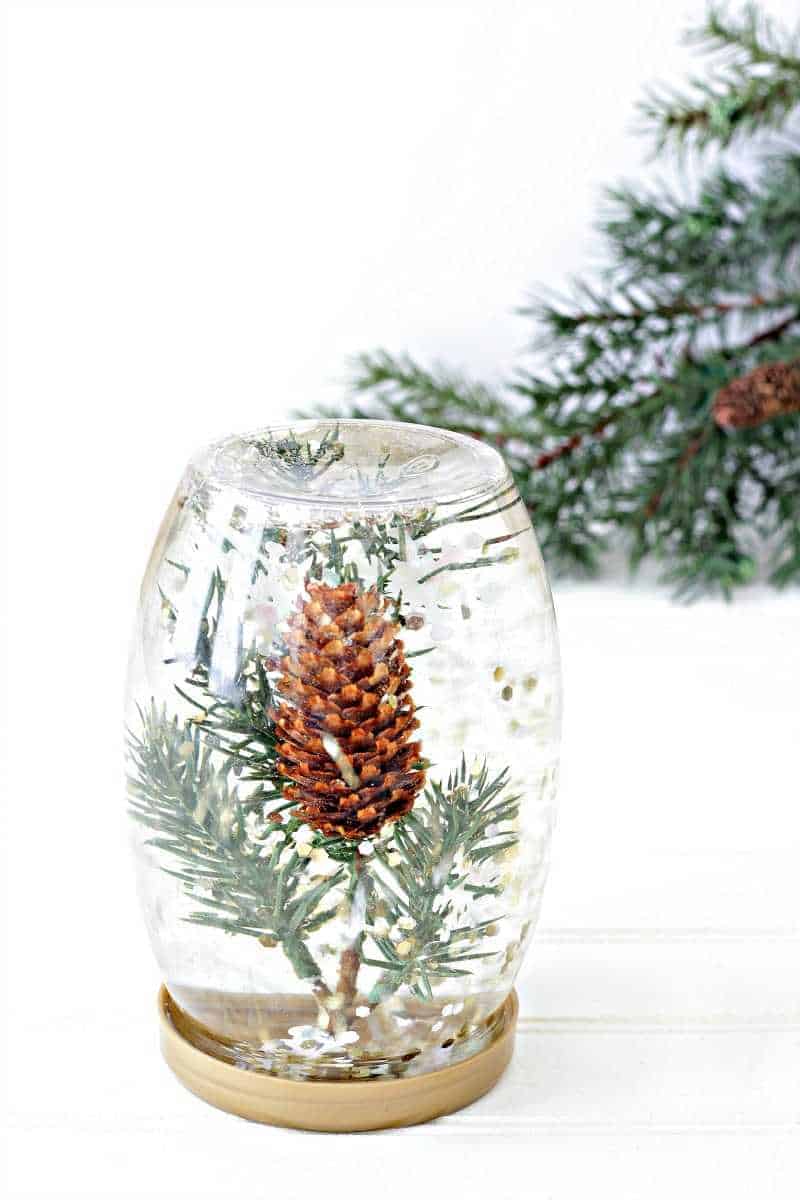
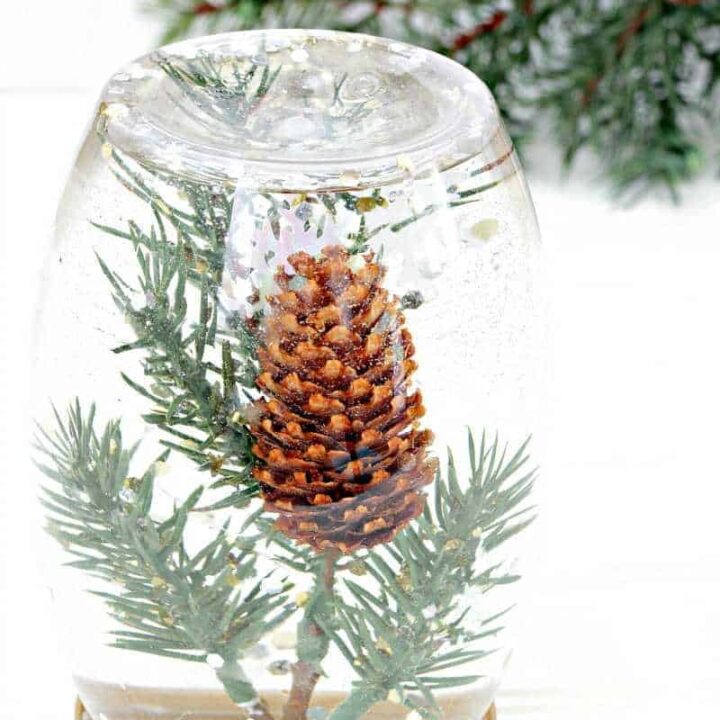
I decided to use chunky glitter and iridescent snowflakes to create a calming winter snowfall effect in this winter calming bottle.
After all, what could be more calming than watching snow fall silently in the winter?
Read on to see all the steps to make your very own winter calming bottle, in less than 30 minutes.
Related posts:
- Stunning Farmhouse Christmas Hurrican Vase (with Gold Antlers)
- Minimalist IKEA Snowman Turns Back Into Baskets After Christmas
- Easy Cinnamon Stick Cross Ornaments for Christmas Tree
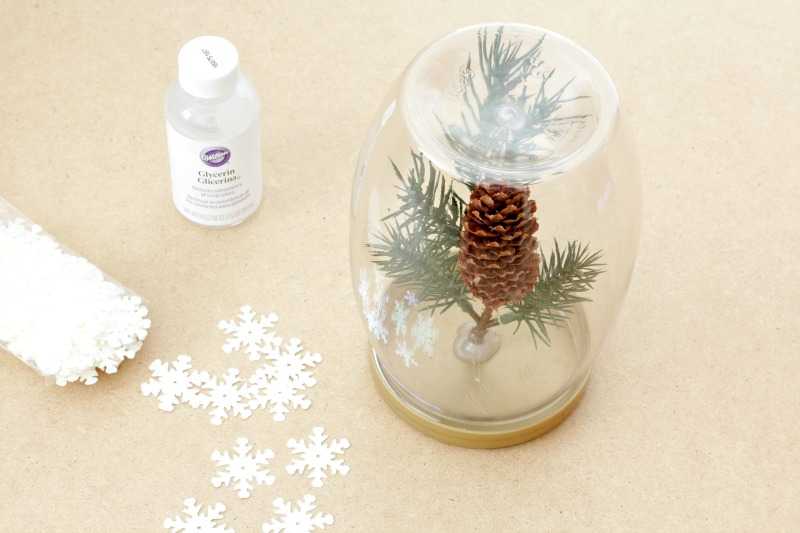
What you need to make a calming bottle
Here is what you will need to make your calming bottle:
- Glass or plastic bottle or jar
- Pine branch, cut to size (real or fake)
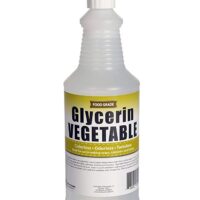
- Glycerin (this brand is all-natural + kosher)
- Chunky gold and silver glitter (Target, $1 – Michael’s is also good)
- White foil snowflakes
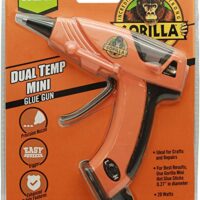
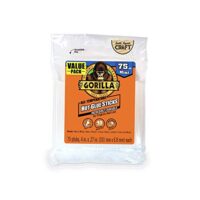
- Glue gun and glue sticks
- Water
You can use any clear bottle or jar, but if you have very small children you probably want to use plastic over glass. I used a Heinz mayonnaise bottle for this craft.
As for the pine branch, you can either use a real one or go and trim one from an evergreen. If you use real, make sure to gently wash any dirt or debris off of the branch — you don’t want it floating in the water!
The glycerin is what will make the glitter fall slowly in the bottle.
The water amount will vary depending on the size of your jar. I used about 3 1/2 cups for my winter calming jar.

Making the winter calming bottle
#1. Gather your supplies
Gather your supplies and plug in your hot glue gun. Protect the surface of your work area from the glue by using a paper towel or parchment paper to catch drips of hot glue.
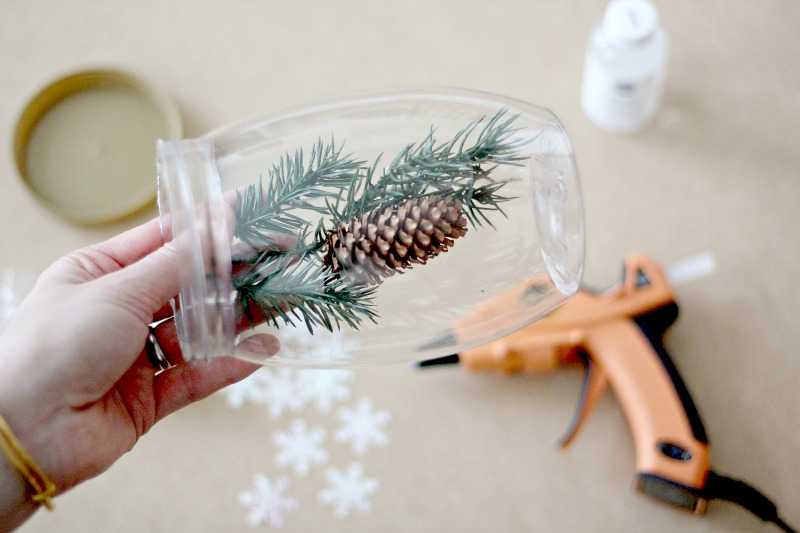
#2. Measure your branch
Place the branch inside the bottle and check the length. Trim off any excess length at the bottom end of the branch. Set aside.
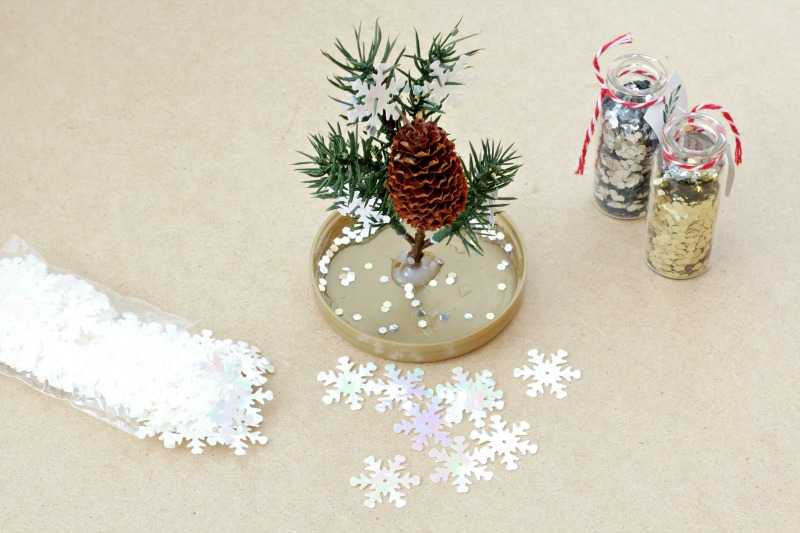
#3. Gluing the branch
Use the hot glue gun to glue the branch firmly in place on the inside of the bottle’s lid.
Hold it in place until completely dry, otherwise, it may fall to the side.
You will need to hold it for 5 minutes or so, after which it will stand straight up on its own after having dried completely.
Take a few of the white snowflakes and glue them onto the pine branch.
If the snowflakes you use have holes like mine, that makes a great place to pin them on for gluing.
I originally wanted the white snowflakes to be free-floating and falling like snow.
Unfortunately, because of the shape of the snowflakes “arms”, they have a tendency to lock together and clump in a not-very-snow-like way.
That’s why I recommend you glue them to the branch instead! Don’t worry, the gold and silver glitter will more than makeup for it. 😉
#4. Check the fit of the branch
Take the lid with the branch glued to it and double-check the fit of the branch inside the bottle. Now is the time to do any additional trimming or adjustments, before moving on.
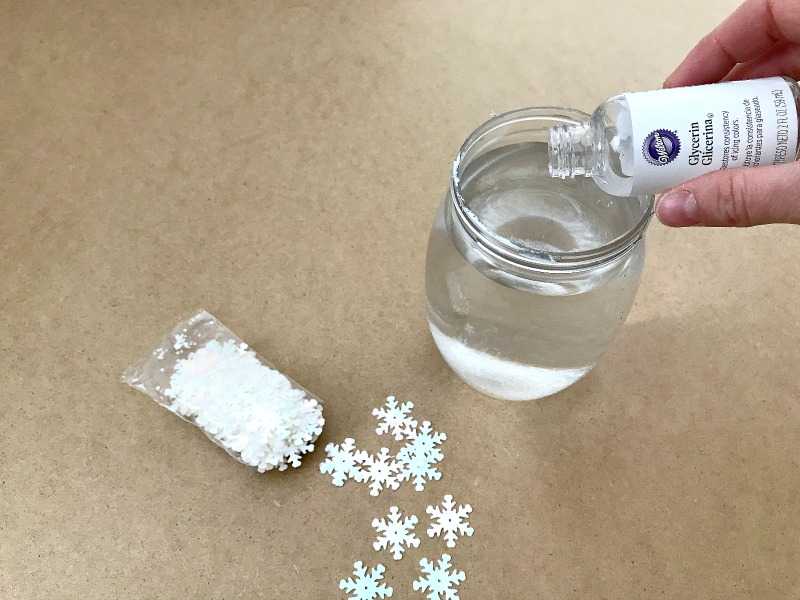
#5. Fill the bottle with water and glycerin
Fill the base of the bottle up with water and then add the glycerin.
Use 1/4 cup of glycerin for 1-3 cups of water and 1/2 for 4+ cups.
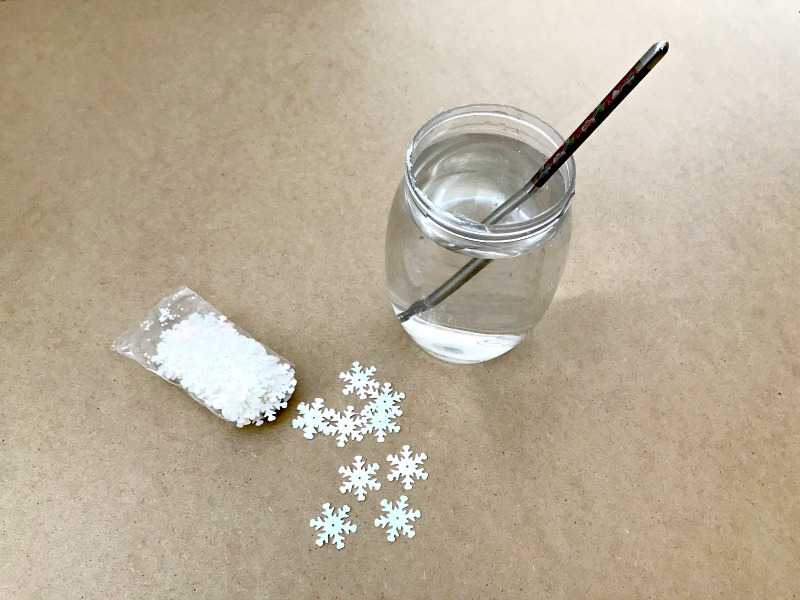
#5. Stir the glycerin
Use a spoon or chopstick to stir the glycerin into the water until combined. You should be left with a nice, clear mixture.
Add a little more water if necessary afterward to fill the liquid nearly to the very top of the bottle.
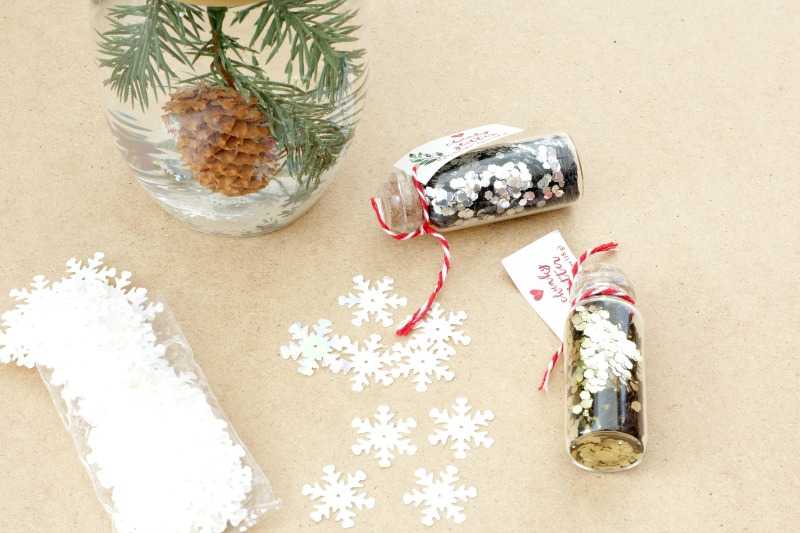
#6. Add the glitter and close
I know you see the branch inside the jar — ignore that!
This is the time to place a generous scoop of gold and silver glitter at the bottom of the jar.
I estimate I used about 1/2 tablespoon of each on the bottom of my calming bottle.
#7. Close and glue the lid
After you have added the glitter, you are ready to close the lid.
Close it and make sure you are happy with the results before gluing the lid of the bottle in place.
Trust me, you don’t want curious fingers opening up the bottle and spilling this all over the house!
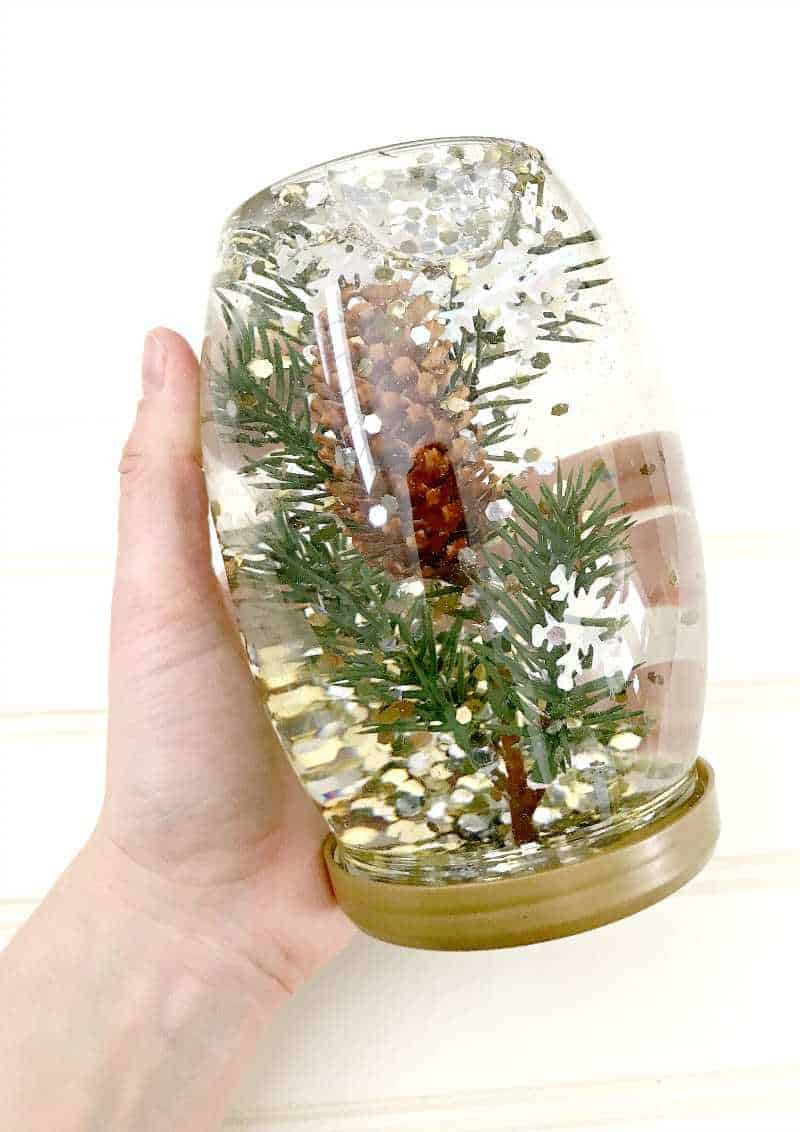
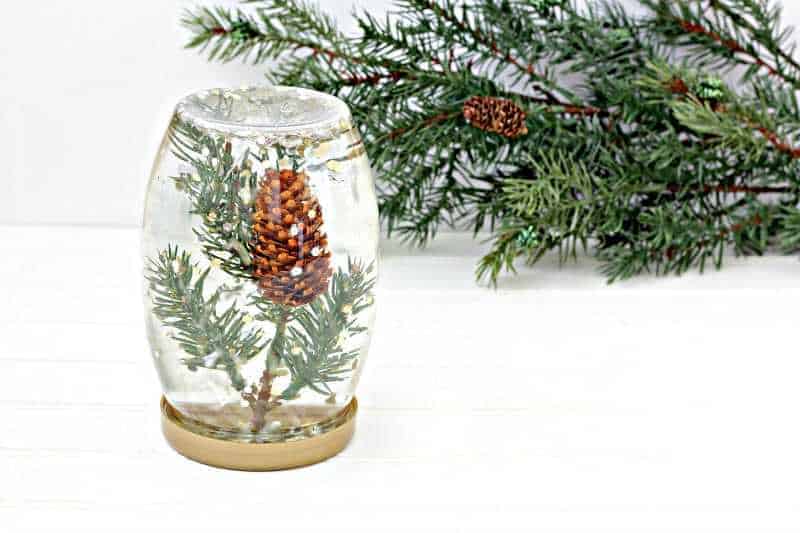
Enjoy your winter calming bottle!
After the glue on the lid is dry, you can present your child with their very own calming bottle to enjoy the sensory effect of winter snowfall over and over again.

Any questions about this calming bottle?
I hope that you enjoyed this winter calming bottle craft. If you have any questions just drop them in the comments section below. 🙂
Lovely Winter Glitter Calming Bottle DIY
This winter calming bottle is a cool sensory activity that is sure to capture attention, with shimmering snowflakes and shiny glitter falling like snow, this calming bottle is sure to be a winter sensation!
Materials
- Empty bottle with lid
- Pine branch (real or fake)
- Glycerin
- Glitter in any color
- Foil snowflakes
- Glue gun & glue sticks
- Water
Instructions
- Gather supplies; protect work surface with newspaper or parchment paper.
- Measure branch and cut to fit inside the bottle.
- Glue the branch to the inside of the lid; add foil snowflakes.
- Double-check the fit by closing the lid with the branch inside the bottle; adjust as needed.
- Fill the bottle with water and glycerin.
- Add glitter; see notes.
- Glue the lid closed.
Notes
*Real pine branches may result in yucky water after sitting for a long time.
*Clean real branches well of dirt and debris.
*Use 1/4 cup of glycerin for 1-3 cups of water and 1/2 for 4+ cups.
*Use 1/2 tbsp glitter in each color, or more if desired.
Recommended Products
As an Amazon Associate and member of other affiliate programs, I earn from qualifying purchases.
Pin this!

Julie Briones says
This is very cool! I bet Ryker would LOVE this! Sharing with Nika, and perhaps we’ll get one together! Pinning, dear heart!
Marissa says
Thanks Julie, I hope Ryker likes it if you decide to make it!
Crissy says
I love this idea, especially for those cold days when we all get cabin fever! My kids will enjoy this. I had never thought about the calming effect that a “party in a jar” like this could have. So many options to customize, too. Pinning it!
Marissa says
Calming bottles are so much fun and there are so many possibilities. Thanks for pinning!
Kim @Serving Up Southern says
I love this! I think my little grands will too. As many times as I’ve looked at snow globes, I’ve never thought about the calming effect they can have, but I can totally see how that could work. Pinning!
Marissa says
Thanks for pinning Kim! Yes, they really are calming to watch. 🙂
Charlene says
This is such an awesome idea and also doubles as home decor too!
Can’t wait to try this out with my 3yo. He’s definitely a high energy kid so I hope this has a calming effect on him!
Marissa says
Let me know how it goes! 😉
Christene says
This is really cute and also pretty! You could also use it as a decoration for Christmas.
Thanks for sharing 🙂
>> Christene
Keys to Inspiration
Marissa says
Great idea, Christene! I think it would definitely make a nice winter decor shelf piece.
http://momhomeguide.com/the-quickest-way-to-paint-a-ceiling/ says
BEAUTIFUL! i THINK ADULTS WOULD LIKE THESE, TOO!
Marissa says
Right? I do!
Renee Benes says
So pretty and so simple! I love it!
Marissa says
Yay! Thanks, Renee, I know how you love simple!