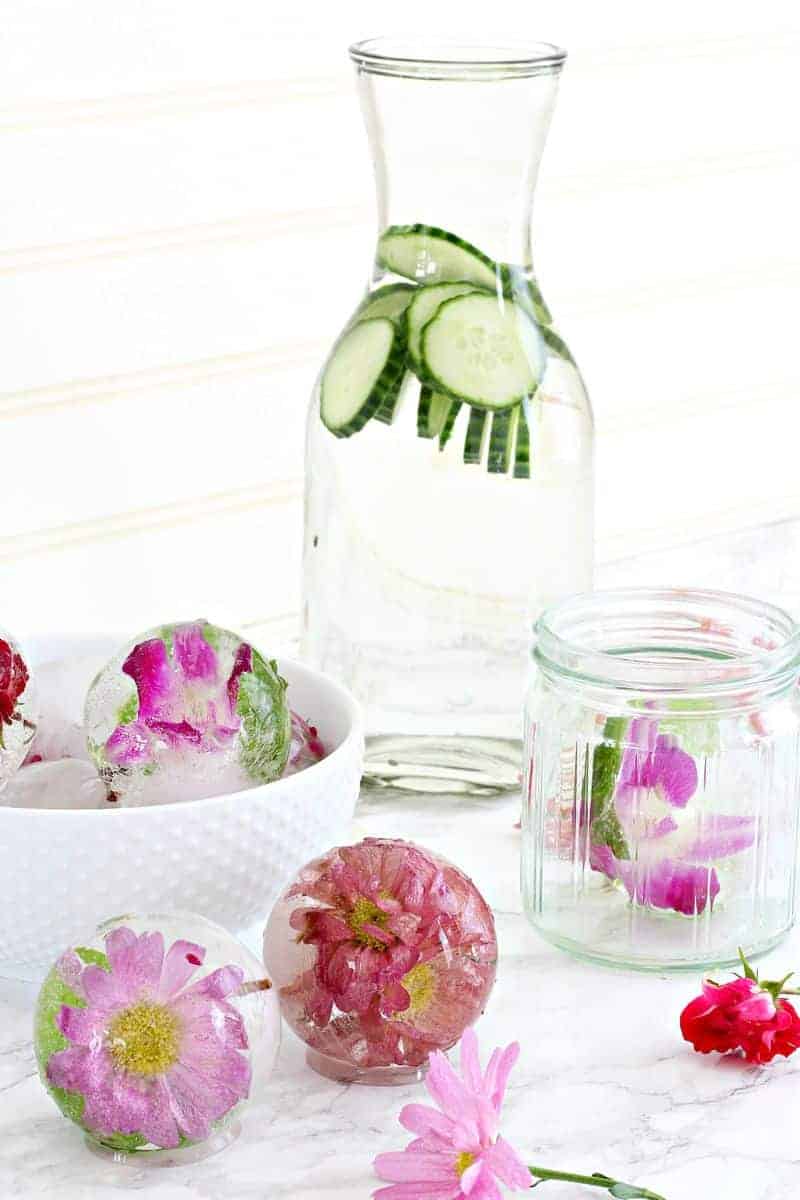
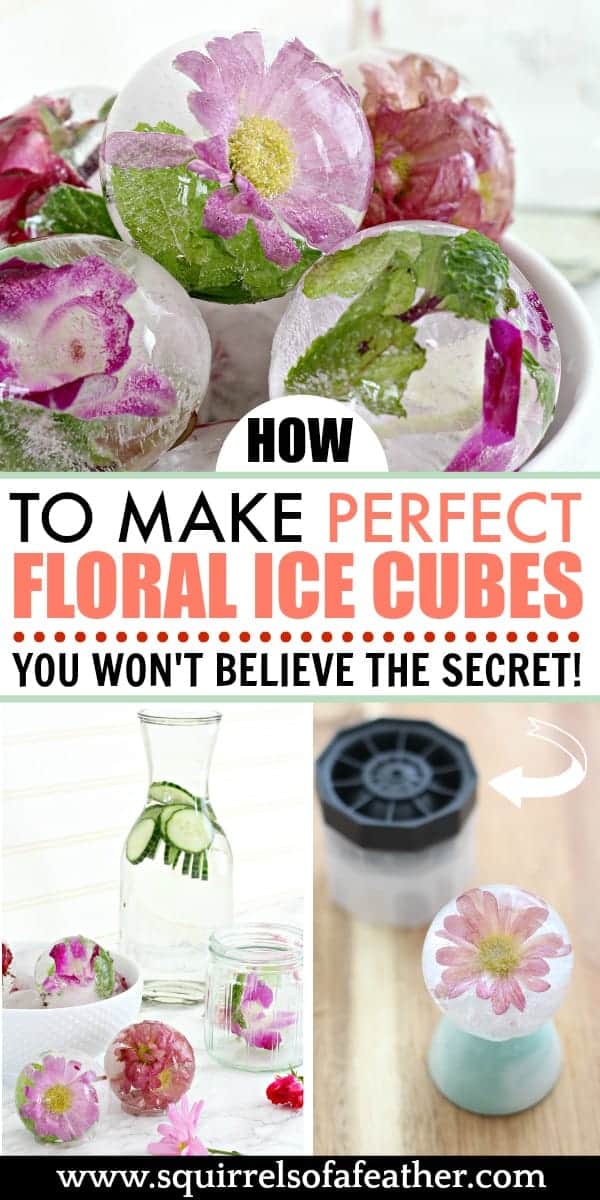
Edible flowers in ice cubes are THE chic drink accessory that can take your garden party to the next level! Find out what kinds of edible flowers can be put in ice cubes and learn the ultra-cool technique that yields perfectly clear floral ice cubes for your drinks, every time.
*Please take the time to read the entire post carefully for all the tips on how to get the clearest flower ice cubes possible!
Why you should be putting flowers in ice cubes
One of my favorite books of all time is The Swiss Family Robinson.
In particular, I loved reading about what they ate, discovering delicacy after delicacy upon their deserted island; figs, sugar canes, and fresh coconuts, just to name a few.
Alas, while there was nary a coconut to be found in my Indianan backyard there were plenty of edible flowers — and that’s how my love of eating flowers arose!
If you have ever been delighted by the idea of living off the land, putting flowers in ice cubes should appeal to you — it’s simultaneously practical and lavishly bourgeoisie!
In my mind, flowers in ice cubes are what would happen if Gatsby from The Great Gatsby got stranded on a deserted isle à la Swiss Family Robinson.
Edible flowers can be added to any number of adult cocktails or kid-friendly drinks.
I took a poll of my Instagram followers and the results were split — 65% of you have eaten flowers before! Yay for flower-eaters!
For the rest of you sweet summer children, time to get enlightened. (If you haven’t followed me yet, go and do so and you can have input on future posts as well!)
This post may contain affiliate links for your convenience. That means that if you make a purchase, I will receive a small commission at no extra cost to you. Read more here.
Best flowers to put in ice cubes
Locating edible flowers can be tricky — you need to be careful and know what you are doing because certain flowers are poisonous!
*Don’t forget to also make sure the plants and flowers you collect are pesticide and chemical free!
Imagine walking up to the flower counter at Whole Foods, holding out a bouquet full of flowers, and asking the florist, “Excuse me miss, how many of these flowers are edible?”
(Yes, I really did that. Yes, it was very embarrassing — and she couldn’t even answer my question! Thus I had to turn elsewhere.)
Common edible flowers
Here are some of the edible flowers/flora I experimented with for this flower ice DIY. These are flowers I personally already knew were edible.
- Roses
- Honeysuckle
- Mums
- Orchids (purchased from Shoprite)
- Mint
The above flowers and leaves are edible, but there are many more kinds of flowers and other flora that can be found locally, depending on your area and the season you are harvesting.
Pansies and tulips are excellent and very common edible flowers but were long gone by the time I started this DIY ice flower post (they are spring flowers).
I wasn’t personally a big fan of how the honeysuckle turned out; the color was so light it tended to look a little yellow-bordering-on-brown after freezing and not exactly like something I would love to have in a drink!
How to know what flowers are edible
If you are uncertain what kinds of flowers are edible you might want to consider buying a resource like this book.
It not only has a helpful glossary with images of the various edible flowers but also some really cool recipes that incorporate edible flowers (and even what kinds of flavors you can expect from each flower!)
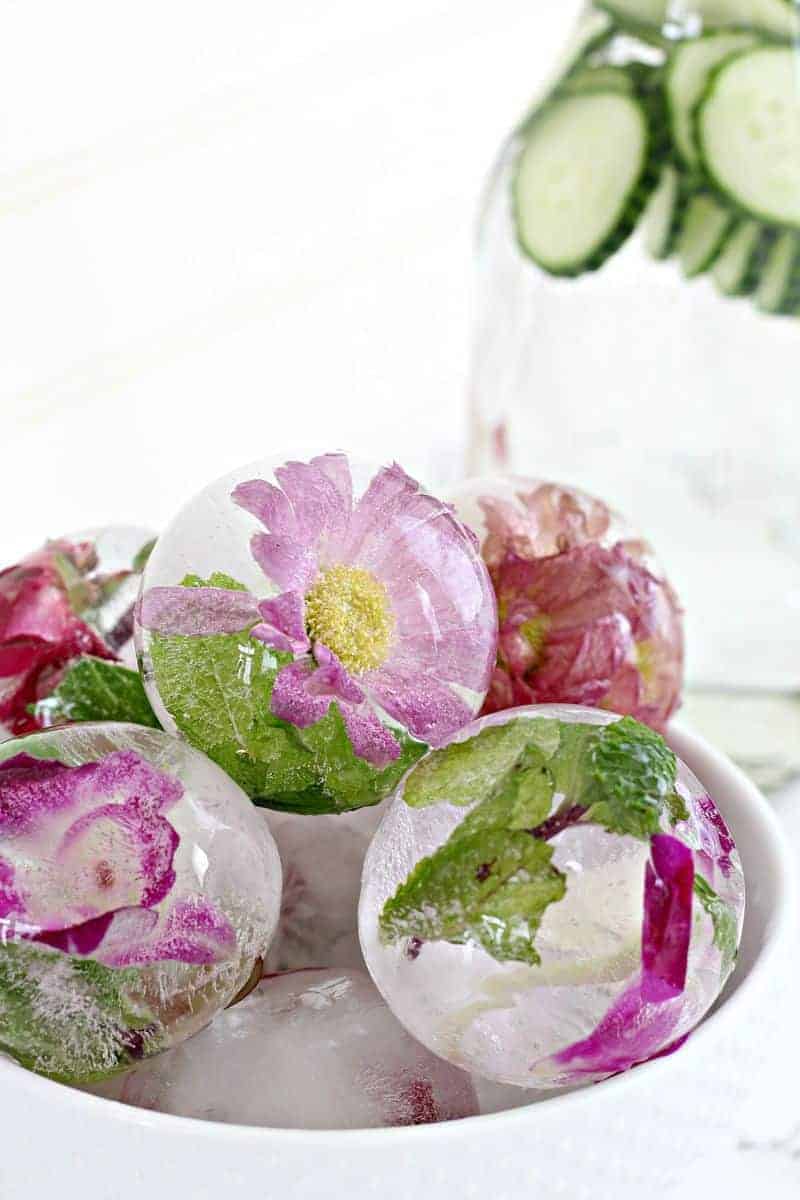
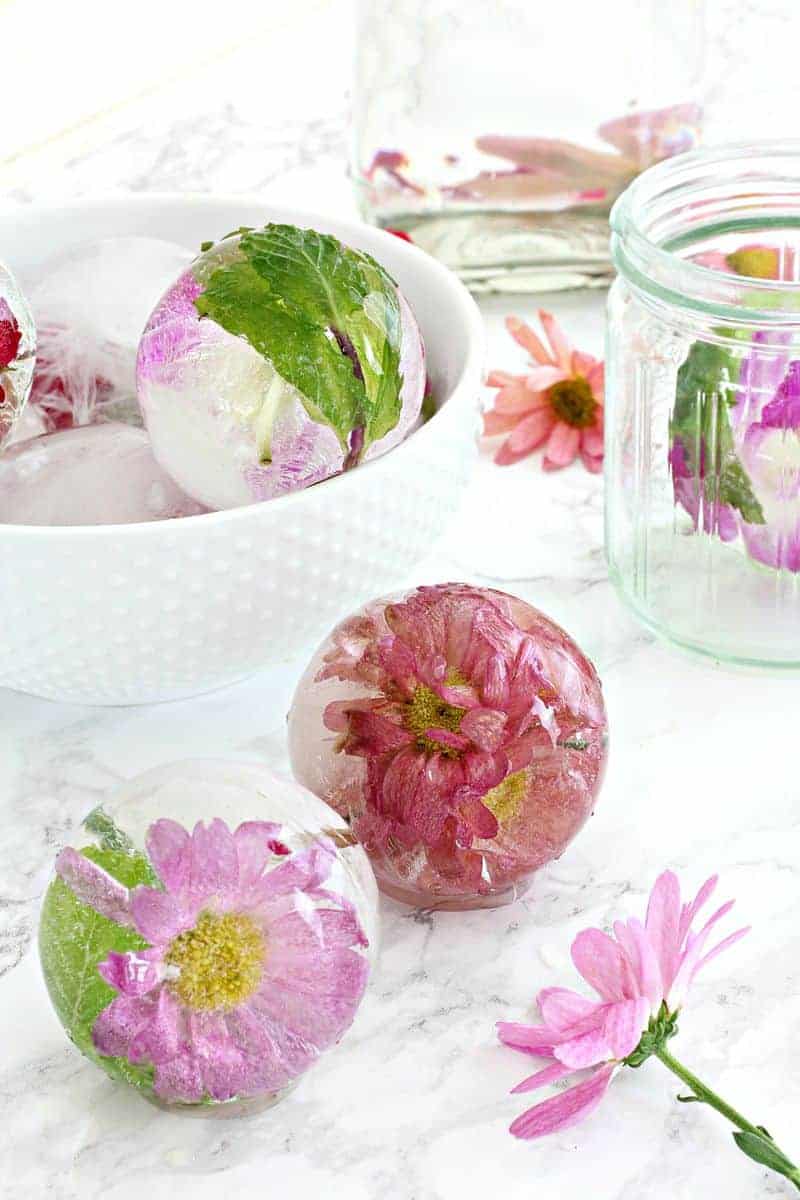
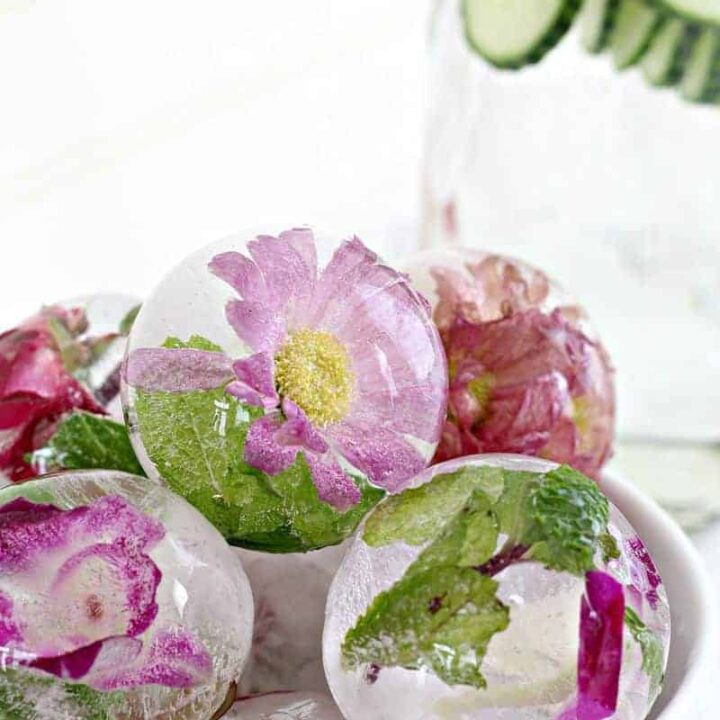
I found the effect of putting a single bloom with a mint leaf inside ice to be visually stunning, but you can also experiment by putting lots of edible flowers to the ice cubes!
The ice ball closest to the camera has a single pink mum and mint leaf inside while the one behind it has many mums — which do you prefer?
This post is part of a year-long partnership featuring Bella Amazing sphere molds. As always, I only team up with companies I personally love and feel confident in sharing with you. All opinions are mine and mine alone.
How to get clear flower ice cubes (or balls)
Allow me to dazzle you with science as we discuss the best way to freeze flowers in ice.
Sure, you could plop flowers in a boring old ice cube tray, fill it with water, and call it a day — but guess what?
You probably won’t be able to even SEE those flowers after they freeze because the ice will be so cracked and cloudy. That’s because there is a very specific way to freeze flowers in ice to get gorgeously clear ice cubes or balls!
(The ice cube tips and tricks you see here are the result of an exhaustive three weeks of on-and-off testing — this research will allow you to get perfectly clear ice cubes, every time.)

Tips for clear ice cubes with flowers in them
I was SO disappointed when I first started this experiment. The first few flower ice cubes came out cloudy, hazy, and generally blah.
Not very romantic and less than pretty!
I tried many different kinds of water and different freezing techniques and today I want to share with you the BEST way to freeze flowers in ice.
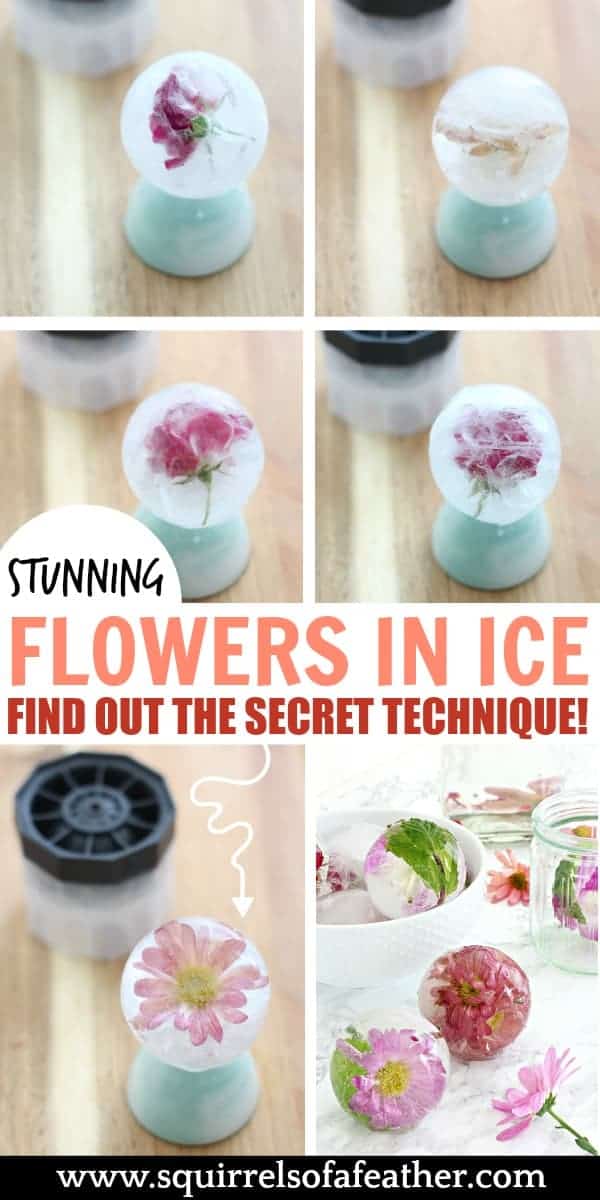
Before I reveal the secret take a look at this comparison of a few freezing methods that I tried:
- Top left – distilled water, boiled once
- Top right – distilled water, boiled twice, 3 layers right-side up
- Middle left – distilled water, boiled twice, frozen right-side up
- Middle right – distilled water, unboiled
- Bottom – distilled water, boiled twice, frozen upside down in a water bath (winner, winner chicken dinner)
The secret to perfectly clear ice
Forget using tap water or even spring water; if you want perfectly clear floral ice, you need to use distilled water that has been boiled twice!
However, even just using twice-boiled distilled water won’t give you clear ice — you also need to use ice molds that allow you to turn the floral ice upside down.
Why?
The short answer is because water freezes top to bottom and as it freezes it pushes any gases or impurities downward. This means that any trapped air or particles will move towards the bottom, leaving clearer ice at the top.
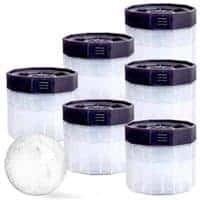
That’s why these sphere molds are the perfect mold for freezing flowers in ice! They also happen to be BPA free, dishwasher safe, and stackable so that they take up less space in your cupboards (can you see why I am OBSESSED with these?)
They are available in a pack of 2, 4, and 6, so you can mix-and-match or customize your drink experience.

![]()
The science behind clear ice balls
Let’s talk about how clear ice forms so you can understand why freezing flowers in layers won’t work.
When you suspend the molds upside-down inside a cup filled with water, the ice inside freezes slowly and pushes much of the gas and any tiny particles out of the hole at the bottom of the mold, resulting in clearer ice cubes (or, in this case, balls) for your flower ice!
That’s also why the popular recommendation to freeze flowers in layers (to prevent floating) just doesn’t work for getting clear ice (top right flower ice ball in the image above).
Not only does the air have nowhere to escape, but you also create multiple layers of gas/particulate filled air while trying to freeze your flower ice cubes!
In fact, trying to freeze the flowers in layers resulted in the hands-down ugliest flower ice cubes!
(While you can get even clearer flower ice cubes by sticking the cups inside of a cooler, I like to keep this flower ice DIY as simple as possible while still getting stunningly beautiful ice cubes with flowers inside of them!)
How to make these DIY flowers in ice cubes
On to the DIY!
Here are all the steps for making these easy DIY flower ice cubes for your drinks.
- Boil distilled water and allow it to cool — twice! – Bring distilled water to a boil in a covered pot, then allow to cool completely. Repeat a second time for twice-boiled distilled water for best clear ice results.
- Prepare your edible flowers – Whether you purchased your flowers from the store or plucked them from your yard, take the time to gently wash your flowers clear of debris and dirt. Few things are less fancy than finding a frozen ladybug in your cocktail!
- Place the flowers inside of your sphere molds – Place the flowers inside of your sphere molds. Remember that you will be turning them upside down and flowers have a tendency to float. Face the center and petals of the flower down towards the bottom (clear part) of the mold.
- Fill the sphere molds with twice-boiled distilled water and close – After filling with water, move the flowers around a bit if possible to try and release any trapped gases or pockets of air trapped in the leaves and petals.
- Pour more liquid to fill all the way to the top and then close the lid gently – It is okay if some water leaks out of the hole in the top.
- Fill a plastic cup with cool tap water and place the sphere molds UPSIDE-DOWN inside the cup – Make sure that the “seam” where the silicone lid meets the plastic is well below the water line in the red cup. You can add some additional water on top if necessary (see image below).
- Repeat and place in the freezer – Repeat for all the sphere molds and place the cups gently into your freezer. I found it easier to move everything if I placed it inside a cupcake pan.
- Freeze for 24 hours – Leave the molds to fully freeze for 24 hours.
- Serve – Carefully remove ice using the instructions below and serve.

How to remove ice balls from sphere molds
The flower ice ball molds will be surrounded by a heavy layer of ice.
After removing the ice balls from the red cups, you can use a sturdy butter knife to carefully break away the ice on the outside of the molds.
Just make sure not to damage those precious sphere molds!
After you remove the external ice, avoid the urge to run your ice molds under warm water to help release the ice balls — this can cause the delicate ice inside the molds to crack and break due to the abrupt change in temperature!
Instead, when you are preparing your floral ice cubes for serving, make sure and take them out 10 minutes in advance or so and allow them to warm a bit (this process is called tempering).
Not only will this help them to naturally detach from the sides of the cups and the inside of the molds but it also helps stop the ice from cracking and breaking when you add liquid to your cup!
Pouring chilled liquid into the cups with your flower ice cubes rather than warm can also help prevent cracking.
Enjoy this DIY?
Ice sphere molds…not just for ice! Try these other ah-mazing recipes featuring my absolute favorite sphere molds!
- Super creepy edible eyeball recipe for Halloween or try the Jello shot version
- Easy Jello balls (a fun sensory recipe to make with kids!)
- A fun + stunning edible marbled Christmas ornament dessert recipe
Drink recipes ideas:
Put Edible Flowers in Ice Cubes for Perfectly Insta-Worthy Drinks
Edible flowers in ice cubes are THE chic drink accessory that can take your garden party to the next level! Find out what kinds of edible flowers can be put in ice cubes and learn the ultra-cool technique that yields perfectly clear floral ice cubes for your drinks, every time.
Ingredients
- Edible flowers
- 3.5 cups distilled water
Instructions
INSTRUCTIONS
- Boil distilled water and allow it to cool — twice!
- Gently clean edible flowers of dirt, debris, and bugs.
- Place edible flowers or leaves inside sphere mold, petals facing the bottom.
- Pour in twice-boiled distilled water to completely fill the mold; gently agitate flowers to remove trapped gases.
- Close the lid.
- Fill a plastic cup with cool tap water and place the sphere molds UPSIDE-DOWN inside the cup. The seam of the mold should be below the waterline of the plastic cup.
- Repeat for all ice molds and place in the freezer.
- Freeze for 24 hours.
- Serve.
Recommended Products
As an Amazon Associate and member of other affiliate programs, I earn from qualifying purchases.
-
 PREMIUM Ice Ball Molds (6-Pack), BPA Free 2.5 Inch Ice Spheres. Slow Melting Round Ice Cube Maker for Whiskey and Bourbon
 -
Hefty Red Plastic Party Cups - 18 Ounce, 50 Count
-
Vivocci Unbreakable Tritan Plastic Rocks 12.5 oz Whiskey & Double Old Fashioned Glasses | Thumb Indent Glassware | Ideal for Bourbon & Scotch | Perfect For Homes & Bars | Dishwasher Safe | Buy 6 Pay 5

Nutrition Information:
Yield: 6 Serving Size: 1Amount Per Serving: Calories: 0Total Fat: 0gSaturated Fat: 0gTrans Fat: 0gUnsaturated Fat: 0gCholesterol: 0mgSodium: 6mgCarbohydrates: 0gFiber: 0gSugar: 0gProtein: 0g
Pin this to try!
Julie Briones says
You are quite amazing, and these look lovely! Pinned, you couldn’t have done a lovelier job!
Miyuki says
AMAZING, Marissa!
They look so wonderful (and you took the whole work of finding the perfect way to do it), that I may want to try it some day 😍
Marissa says
Oh, thank you so much, Miyuki! So nice to hear from you again. 🙂 If you can get these sphere molds where you are, definitely give them a try…I use them for EVERYTHING (ice, jello, fruit jelly, etc).
Melissa Griffiths says
Well this is super cool! How fun would these be at a wedding or bridal shower?!
Marissa says
Thanks so much, Melissa! I think so too. 🙂 These could be a cool addition to lots of different parties! Fruits or berries would be another great option, and changing by season.