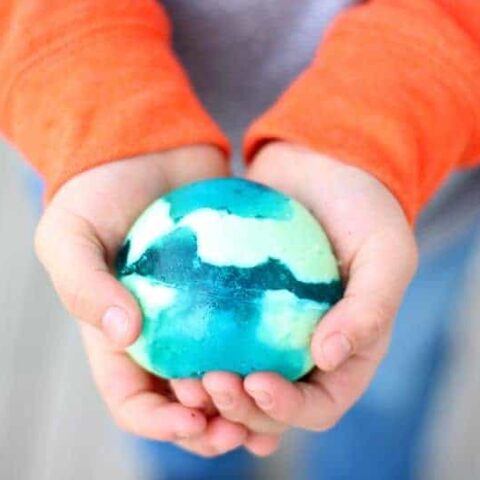
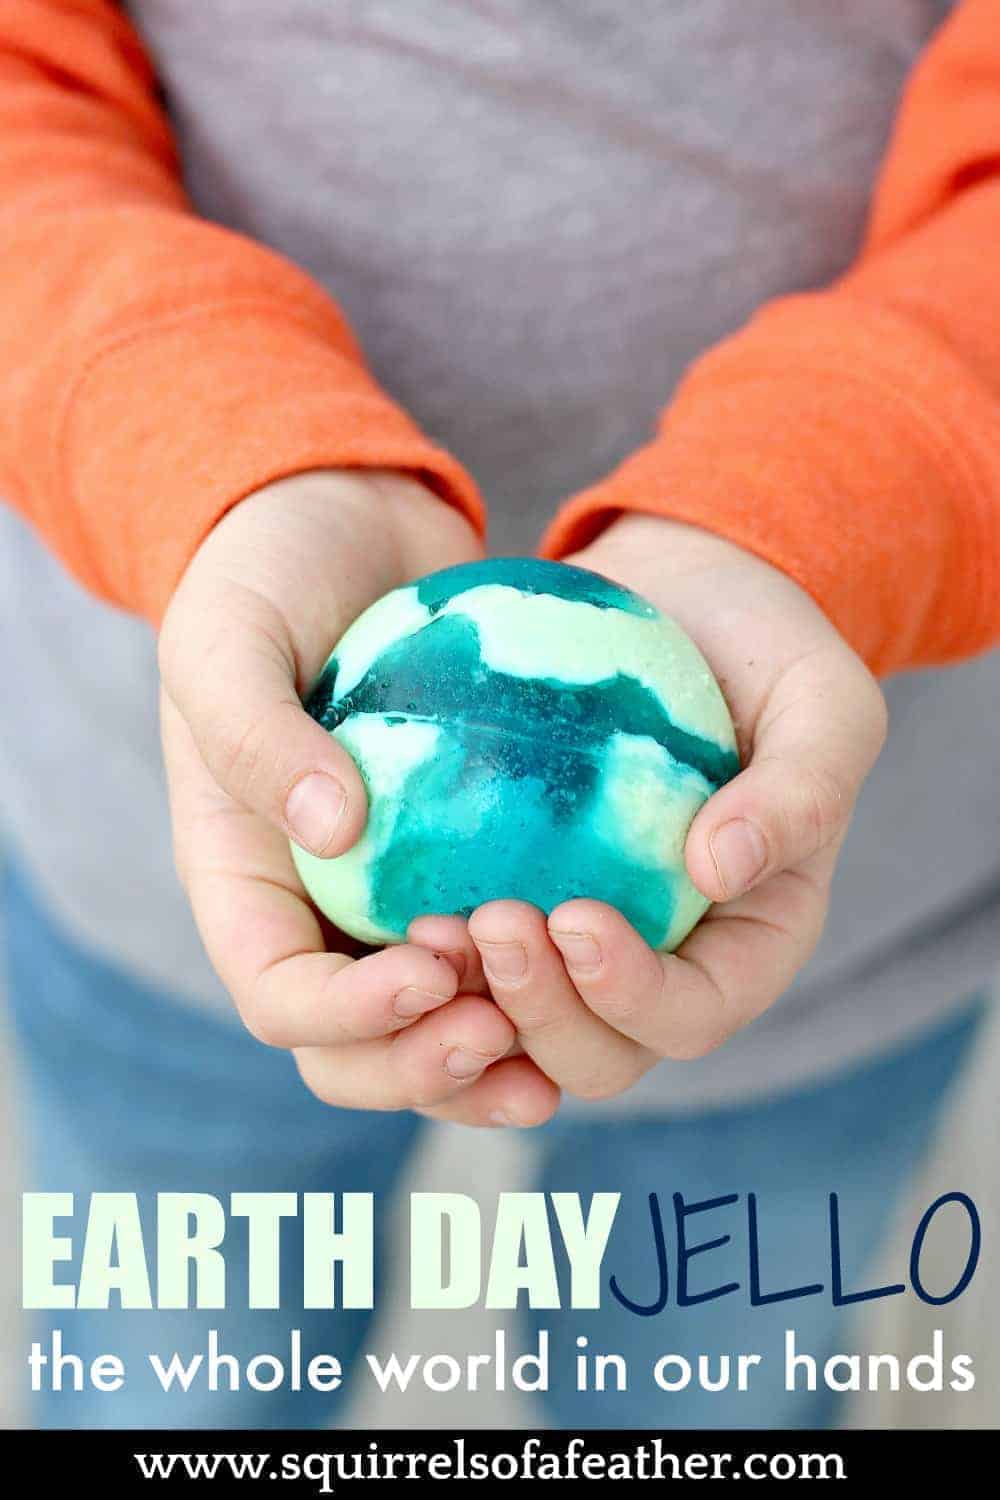
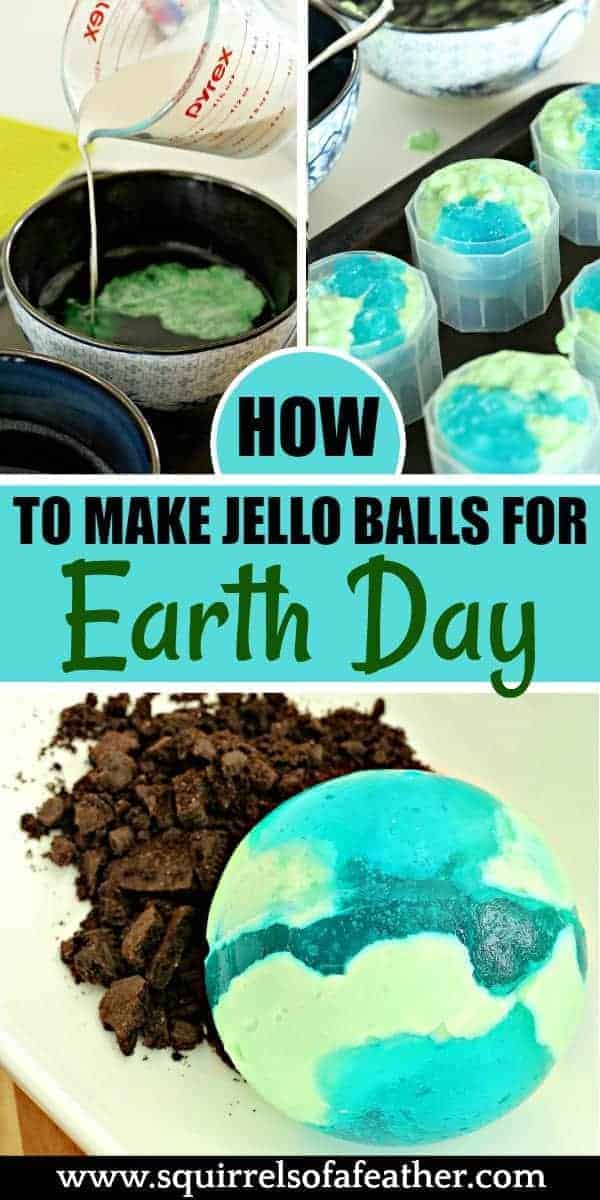
Ah, Jello — one of the most fun and delicious desserts on the planet! It’s no wonder these green and blue Jello balls make a fabulous recipe for Earth Day. Find out how to make perfect jello spheres that look just like our planet using berry blue Jello, lime Jello, sphere molds, and a dash of super-secret Jello know-how.
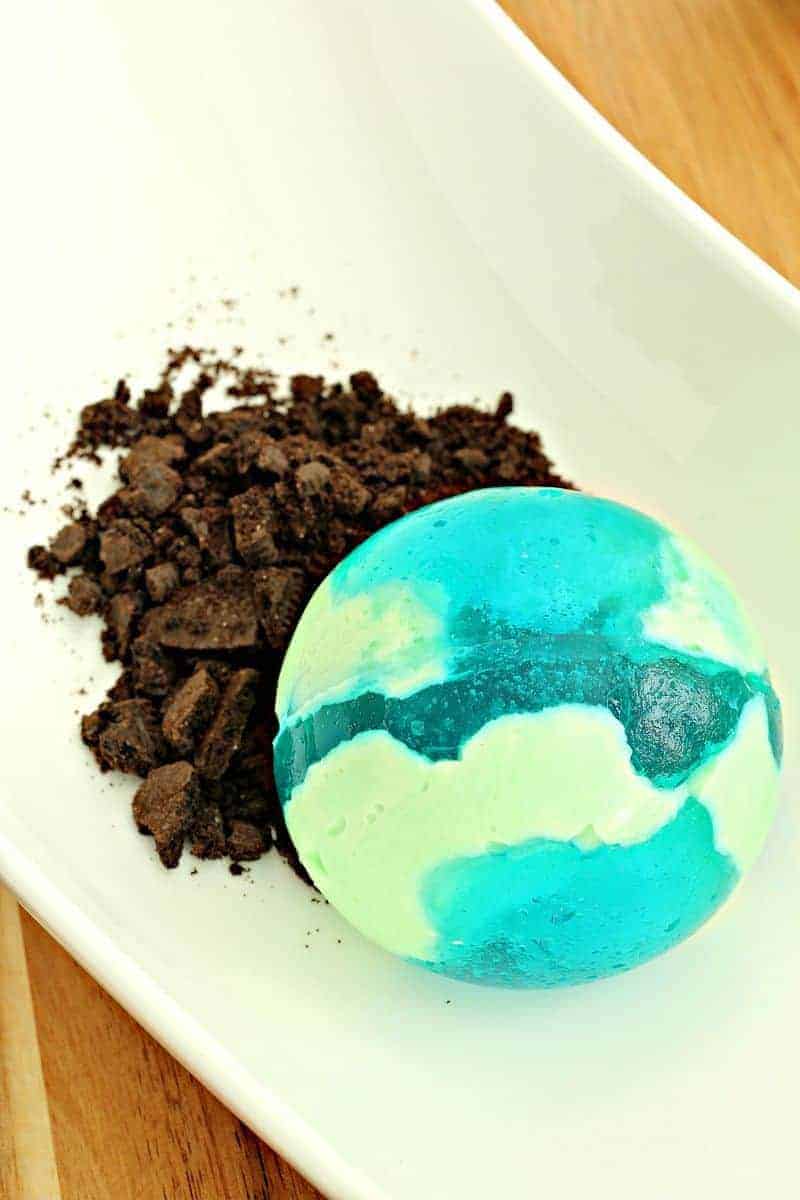
Just add a little Oreo dirt and some whipped cream clouds and this Earth Day dessert doubles as an edible sensory play activity for young kids (or grown adults, no judgment here)!
Bonus recipe! Find out how to make Jello Jiggler balls with any color of Jello.
This post may contain affiliate links for your convenience. That means that if you make a purchase, I will receive a small commission at no extra cost to you. Read more here.
Green and Blue Jello Balls for Earth Day
Lime Jello and berry blue Jello happen to be two of the best flavors on the planet — FACT, not an opinion!
Today I am going to show you how you can combine green and blue Jello to make edible Jello balls for Earth Day.
You need to read this recipe carefully because if you don’t follow my super-secret Jell-O tips your gelatin balls might not set correctly.
You may also notice that I use the words “jello” and “Jell-O” and “Jello” interchangeably.
That is because the brand and the dessert have become nearly synonymous in our language and the capitalization and spelling don’t really matter. 🙂
This post is part of a year-long partnership featuring Bella Amazing sphere molds. As always, I only team up with companies I personally love and feel confident in sharing with you. All opinions are mine and mine alone.
What you need to make these Jello balls
Remember to read the steps carefully, because this recipe is NOT made with the typical Jello package instructions; there will be modifications and steps that are not intuitive.
Ingredients:
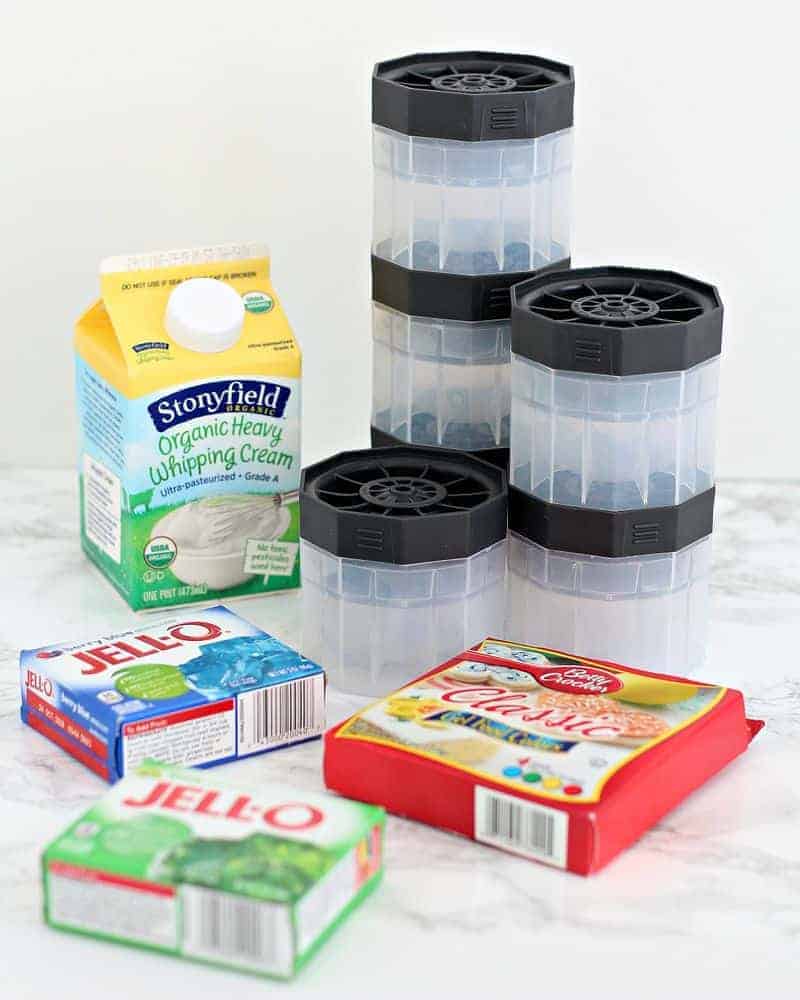
- Lime green jello (one pack)
- Berry blue jello (one pack)
- Heavy whipping cream
- Gel food coloring (optional)
- Oreos (optional)
- Whipped cream (optional)
If you want to enhance the darkness of the lime green jello, have some green food coloring on hand; gel food coloring results in a more vivid green (I wish I would have added a little bit extra — I felt the lime was still a bit light in color).
The Oreos and whipped cream are just fancy extras if you want to make this into an edible sensory play activity! The Oreos can be crushed into “dirt” and the whipped cream added as “clouds”.
Supplies:
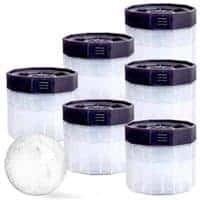
- Bella Amazing sphere molds (six molds)
- A cookie sheet
- Two bowls (best to have equal size)
- A measuring cup
- Spoons for stirring
- Cooking spray
The cookie sheet is so that you can quickly move the molds all at once rather than one by one. We will get into the functions of the other items below.
How to make green and blue Jello balls
1. Prepare the green and blue Jello
Bring 2 cups of water to boil in a teapot or saucepan.
Open the blue jello packet and place the dry gelatin mix in one of the bowls. Open the green jello packet and place the dry gelatin mix in the other bowl.
(Remember we are keeping the colors separate for now.)
Add one cup of boiling water to the blue jello mix. Stir for two minutes. Add one cup of boiling water to the green jello mix and stir for two minutes (if you want to add additional green food coloring to make the green jello darker, do it now.)
Once you have stirred the blue and green jello mixtures, now it is time to add the cool water.
Add 3/4 cup of cold water to the blue mixture and stir to combine. (This is less than the recommended 1 cup of cold water on the package!)
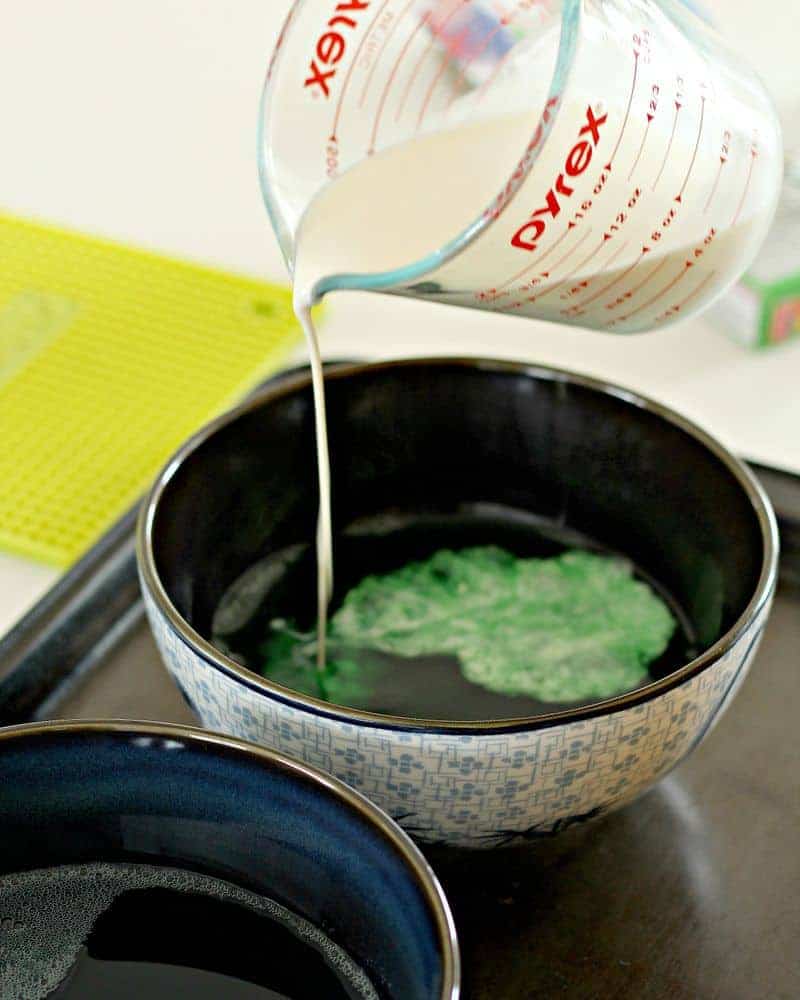
Add 3/4 cup of heavy whipping cream to the green mixture and stir to combine. (This is less than the recommended 1 cup of cold water on the package!)
While the whipping cream is optional, it does help to make the color difference between the green and blue jello more pronounced. If you chose not to use whipping cream just substitute cold water instead.
2. Refrigerate the Jell-O
Once you have the green and blue jello liquid stirred, it is time to refrigerate.
Place both bowls in the refrigerator and chill for 25-40 minutes* until the Jello is just beginning to set (turn from a liquid into a solid).
*The time that it takes the jello to set will depend on the size/depth of your bowls. Wide and shallow bowls will set faster than deep/small bowls! If you allow the Jell-O to set too long, the colors will not bond together.
3. Prepare the jello ball molds
While the jello is setting in the fridge, prepare the ball molds.
Spray each mold individually with cooking spray (I did this over the sink to cut down on mess), wipe the excess out with a paper towel, and place on a cookie tray or baking sheet for easy moving.
The cooking spray is going to help the Jell-O balls release from the molds easily so that you don’t have to pry them out and risk smooshing them — don’t skip this step!
4. Adding the jello to the molds
After 20-45 minutes have passed and the jello is just starting to set, remove both bowls from the fridge and give them a stir.
(Use two different spoons so that you don’t mix up the colors!)
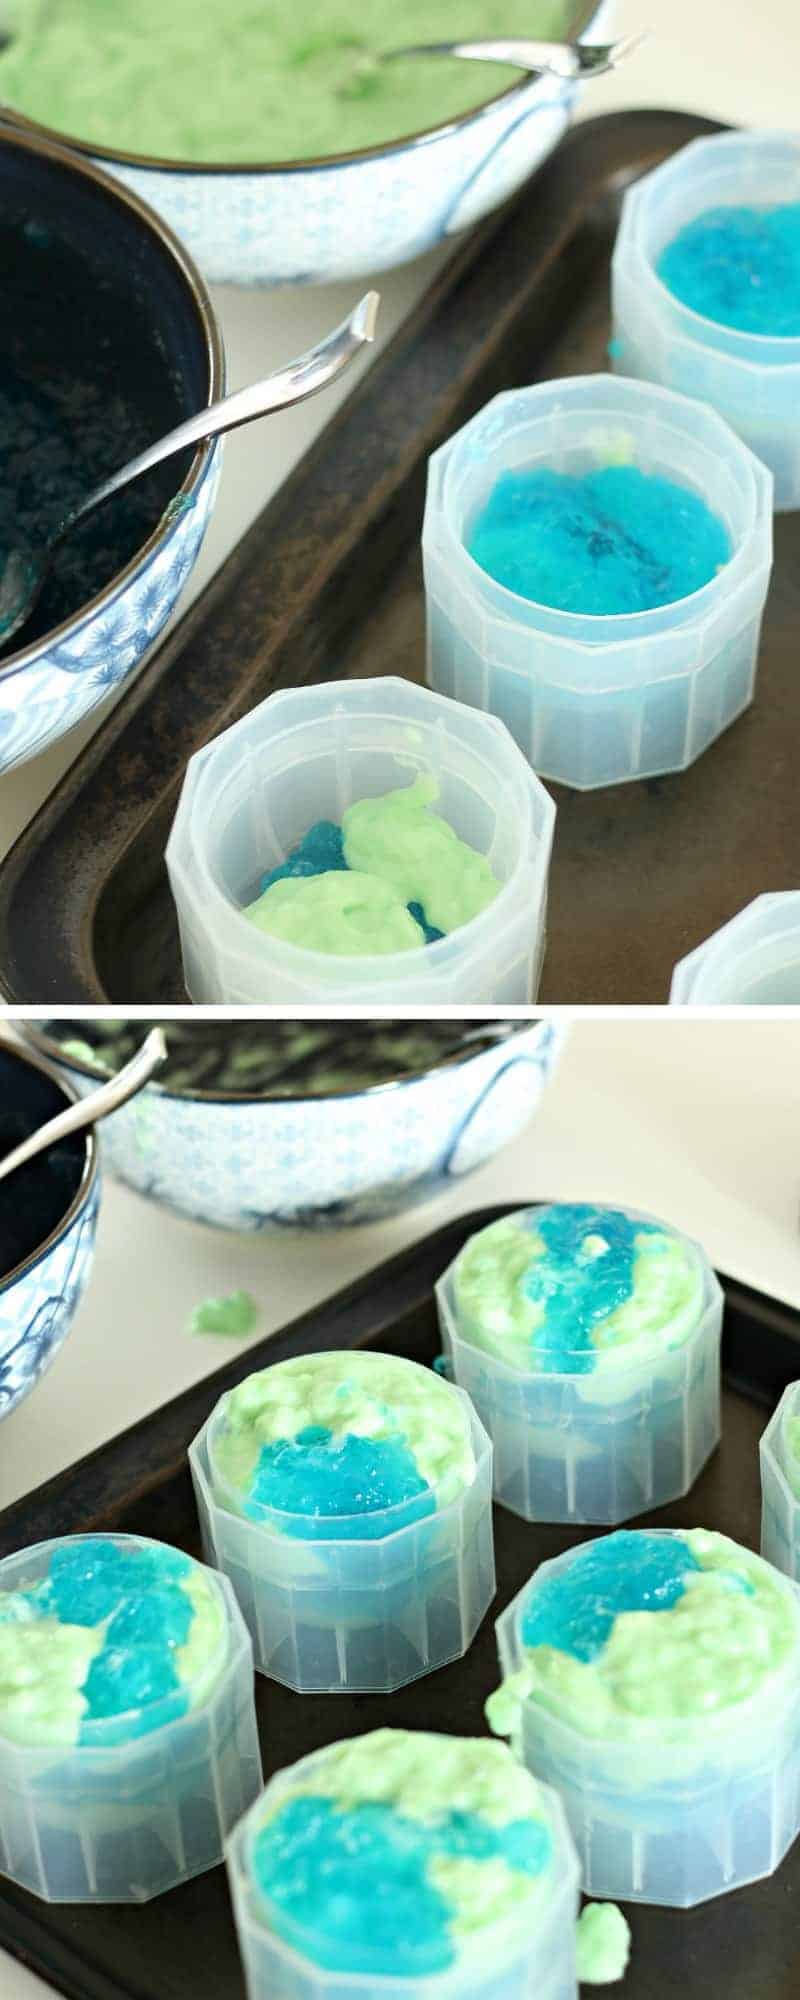
Begin to fill the molds by alternating adding blue and green spoonfuls into the molds.
I started by a spoonful of blue in the bottom, then some spoonfuls of green to the left and right side, and more blue, and so on (first image below).
Continue adding and alternating the blue and the green until all of the molds are filled up to the rims (second image below).
Once you have the molds filled to the brim, it’s time to tap them!
That’s right, in order to help compress the jello and squeeze out any air bubbles and pockets we need to tap out the air — another important step, don’t skip or your jello balls will fall apart!
Taking each of the molds one by one, lift them slightly into the air and then tap them down, gently but firmly, upon the cookie sheet. Tap, tap, tap, and then tap some more until it seems like all of the bubbles have been forced out.
5. Close and refrigerate the jello ball molds
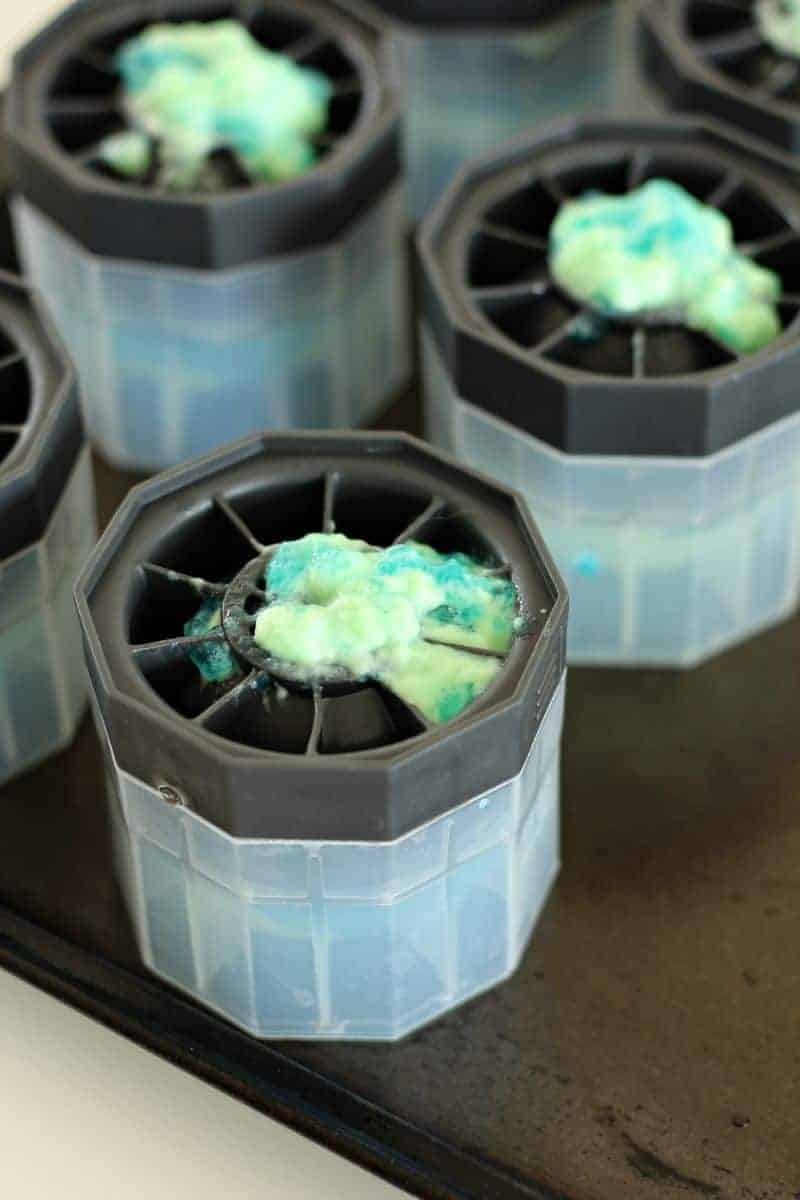
The great thing about these molds is the ingenious design; you don’t have to try and force the liquid through a tiny hole. Instead, as you close the lid the silicone sides displace the liquid upwards, forcing any air or excess fluid out of the tiny hole on top.
To close the sphere molds, take a black lid and slowly and firmly press the lid down on top of the clear bottoms. When the lid is firmly closed you will feel the silicone kind of “click” into place.
If some of the jello squeezes out of the top, no biggie!
Take a moment to tap each of the molds again to make sure you really got all of those air pockets out.
Now it’s time to place all of the jello Earth balls in the refrigerator.
Refrigerate for AT LEAST 8 hours but overnight is preferred — the jello needs plenty of time to bond and if you open the molds too quickly you will ruin your jello balls!
6. Remove and serve
After your Earth Day jello has set (preferably overnight) remove the cookie sheet and prepare for serving!
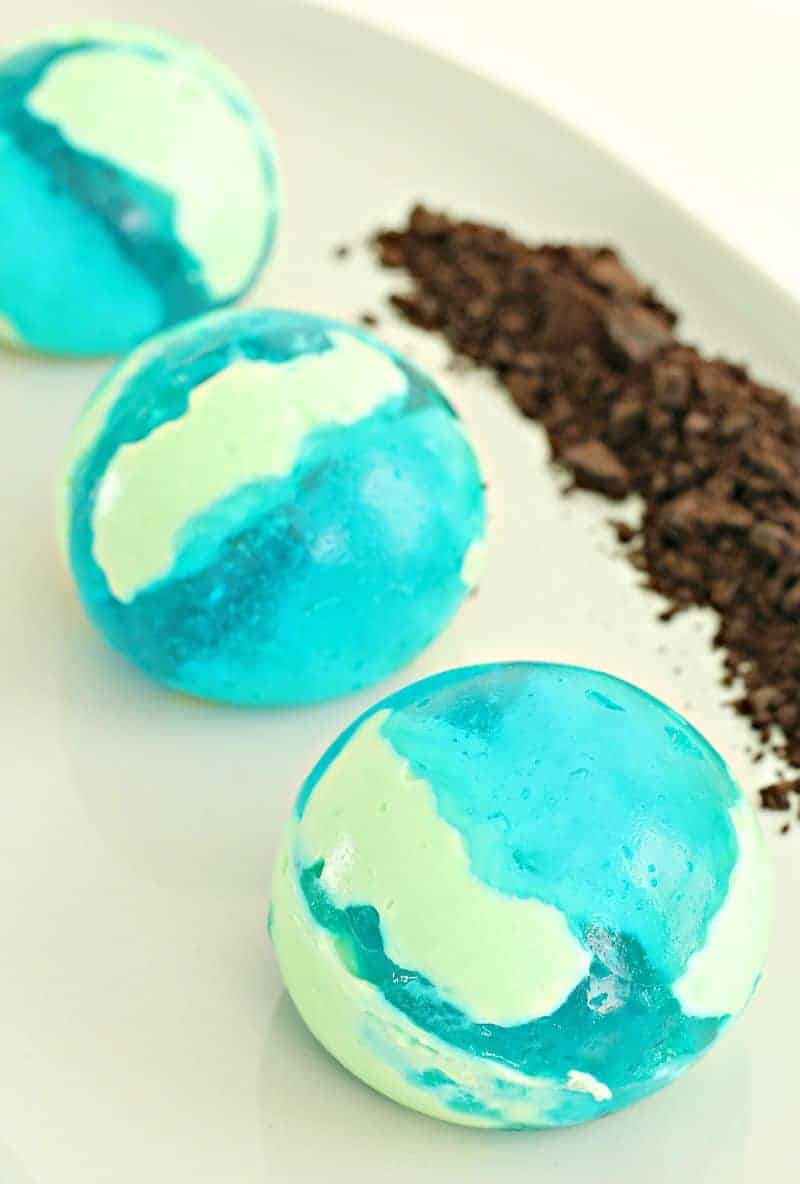
To remove, open the lid, hold your hand in front of the top of the mold, and very gently tip the Jello balls out.
Plate and serve for Earth Day! These green and blue Jello Earths really pop served up with some Oreo dirt or whipped cream!
Enjoy and HAPPY EARTH DAY! If you have any questions or comments about this recipe, drop them in the comment section below and I will get back to you. 🙂
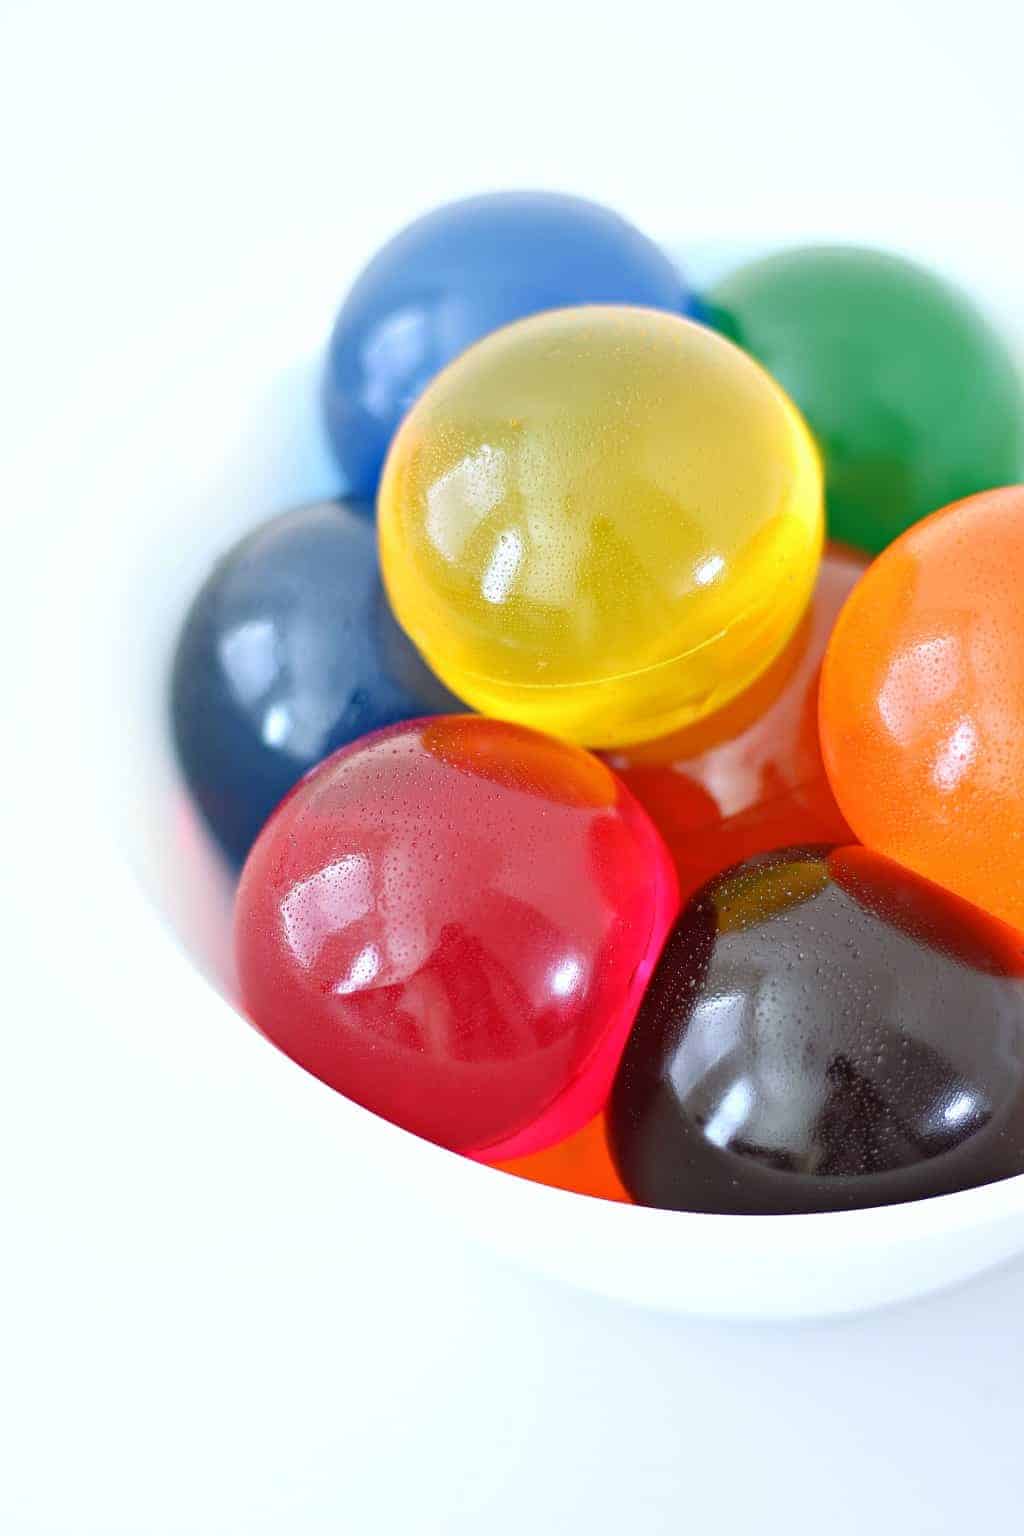
How to make Jello Jiggler Balls, any color
This recipe for Jello Jiggler balls works with any kind of Jello, regular or sugar free!
Ingredients:
- 3 boxes of 3 oz of Jello, any color (regular or sugar-free)
- 3 cup of boiled water
Instructions:
- Bring 1 cups of water to boil in a teapot or saucepan. Place each pack of dry gelatin mix in separate bowls.
- Add one cup of boiling water to each dry jello and stir for 2 minutes until fully dissolved.
- Spray the sphere molds with cooking spray; wipe smooth with paper towel.
- Pour 1/2 cup of liquid Jello into each of the sphere molds.
- Cover and refrigerate for 4 hours or overnight.
- Remove and serve.
Enjoy this recipe?
If you liked this recipe for Jello balls, you will love these other great recipes!
- Best Jello Poke Cake (Unicorn Cake Topper Included)
- Easy Jello Eggs, No Mold Required
- Get Jiggly With It; Jello Jigglers Recipe
- How to Make Finger Jello with Knox Gelatin and Jello
- Spooky Halloween Jello Eyeball Shots
Check out these amazing sphere molds in action at these other posts:
- Creepy Halloween Eyeball Recipe Using Sphere Molds
- These ice balls are what would happen if Gatsby got stranded on a deserted island
- Make these edible marbled Christmas ornaments for dessert!
Green and Blue Jello Balls (Earth Day Jello Recipe)
Ah, Jello — one of the most fun and delicious desserts on the planet! It’s no wonder these green and blue Jello balls make a fabulous recipe for Earth Day. Find out how to make perfect jello spheres that look just like our planet using berry blue Jello, lime Jello, sphere molds, and a dash of super-secret Jello know-how.
Ingredients
- 1 3 oz box lime green jello
- 1 3 oz box berry blue jello
- 3/4 cup heavy whipping cream
- green food coloring (optional)
Instructions
- Bring 2 cups of water to boil in a teapot or saucepan. Place blue and green dry gelatin mix in two separate bowls.
- Add one cup of boiling water to the blue jello mix. Stir for two minutes. Add one cup of boiling water to the green jello mix and stir for two minutes (if you want to add additional green food coloring to make the green jello darker, do it now.)
- Add 3/4 cup of cold water to the blue mixture and stir to combine.Add 3/4 cup of heavy whipping cream to the green mixture and stir to combine.
- Place both bowls in the refrigerator and chill for 25-40 minutes* until the Jello is just beginning to set (turn from a liquid into a solid). (*See notes in post above.)
- While the jello is setting in the fridge, prepare the ball molds.Spray each mold individually with cooking spray, wipe the excess out with a paper towel, and place on a cookie tray or baking sheet.
- After 20-45 minutes have passed and the jello is just starting to set, remove both bowls from the fridge and give them a stir.
- Begin to fill the molds by alternating adding blue and green spoonfuls into the molds. Add and alternate the blue and the green until all of the molds are filled up to the rim.
- Tap the molds to remove air pockets. Taking each mold one by one, lift them slightly into the air and then tap them down, gently but firmly, upon the cookie sheet. Tap until all bubbles have been forced out.
- Slow and gently close the lid and place all jello molds in the fridge. Refrigerate for AT LEAST 8 hours but overnight is preferred
- Open and remove carefully and serve as desired. (Optional: Oreo dirt and whipped cream clouds.)
- Remove the cream from the Oreos and crush inside a plastic bag. Sprinkle around jello. Add whipped cream.
Recommended Products
As an Amazon Associate and member of other affiliate programs, I earn from qualifying purchases.
Nutrition Information:
Yield: 6 Serving Size: 1Amount Per Serving: Calories: 141Total Fat: 11gSaturated Fat: 7gTrans Fat: 0gUnsaturated Fat: 3gCholesterol: 34mgSodium: 42mgCarbohydrates: 10gFiber: 1gSugar: 8gProtein: 2g
koko says
This is Super cool and fun, Marichan! You can do a lot of things with the molds, I should buy some 😀
Marissa says
Thanks, Koko! Yes, these molds are super fun for kids, you can make jellies, ice, tons of stuff! I am sure your son would love them. 🙂