I have seen so many DIY chalk paint projects, and I figured I was finally ready to take one on…I had an old glazed ceramic vase that I knew would be perfect for the project, but I couldn’t find any chalk paint tutorials for ceramics. Furniture, glass, silver, cabinets, sure! But can you use chalk paint on ceramics?
This post may contain affiliate links for your convenience. That means that if you make a purchase, I will receive a small commission at no extra cost to you. Read more here.
Yes, You Can Use Chalk Paint on ceramics
This project worked out great, and I am so pleased with the results.
Best of all, it was super easy and cheap to put together.
In fact, other than the flowers (which I got 50% off at Michael’s, hooray!) I put it together using things I already had lying around the house.
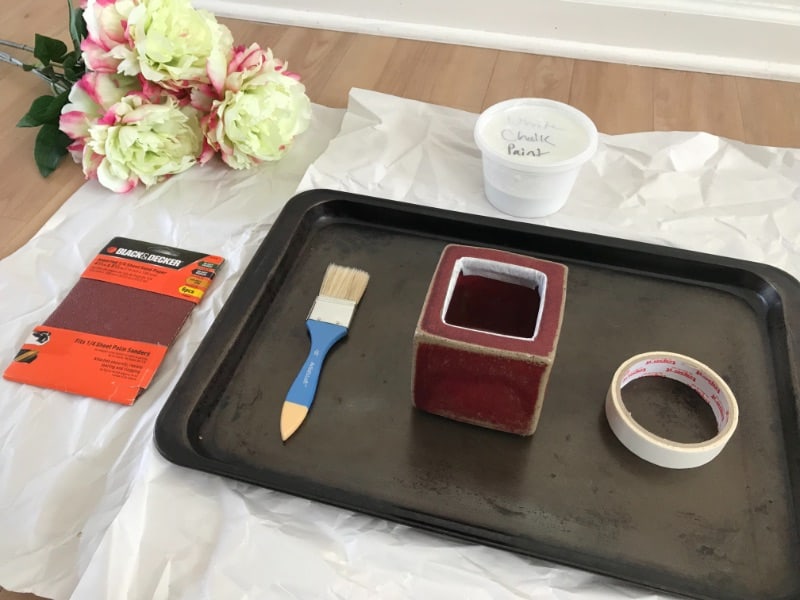
Tools for chalk painting ceramics
- A vase (glazed or unglazed)
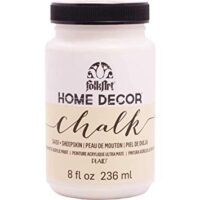
- Chalk paint
- A large paintbrush
- Flowers
- Newspapers or cloth to cover the work area
These chalk paints come in over 50 colors and you can select from 2 oz, 8 oz, 16 oz, and 32 oz sizes; this is a great option because you can custom select the color/size to match your project!
Optional items
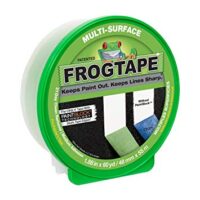
- Painter’s tape
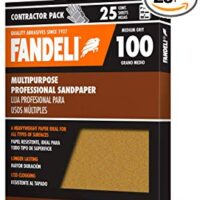
- Sandpaper
If you have any areas that you don’t want to paint of the vase OR you want to use chalk paint in various colors, use painter’s tape to tape off those areas for nice, clean lines.
Sandpaper can be used to create distressed edges; I used 100 grit sandpaper for this project.
Upcycle an Old Vase with Chalk Paint
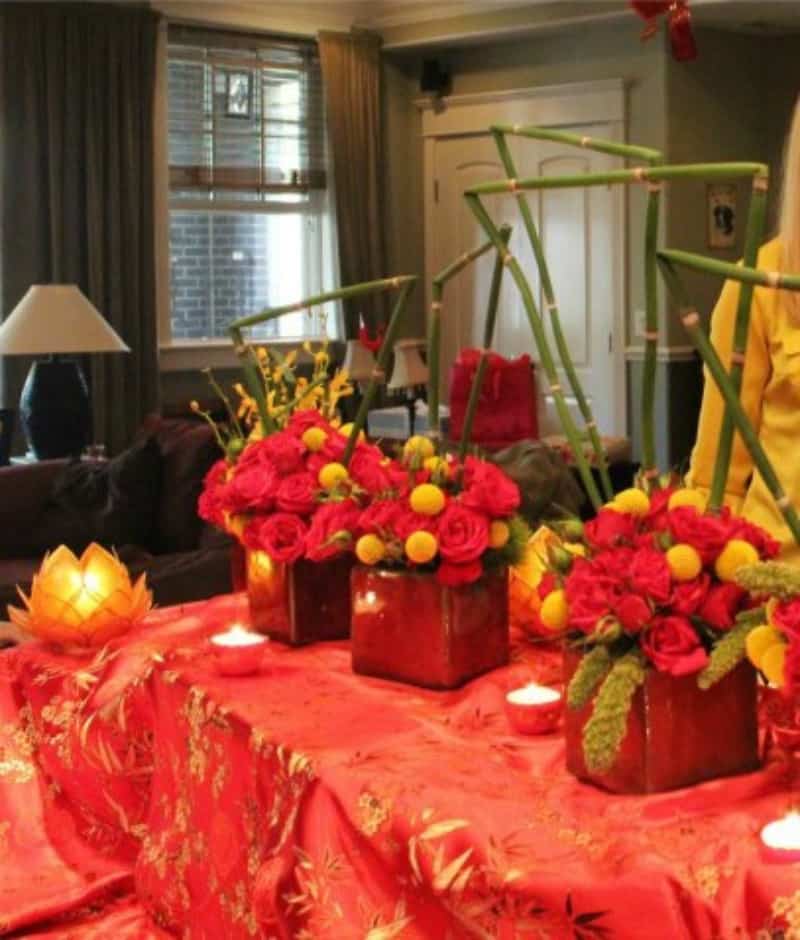
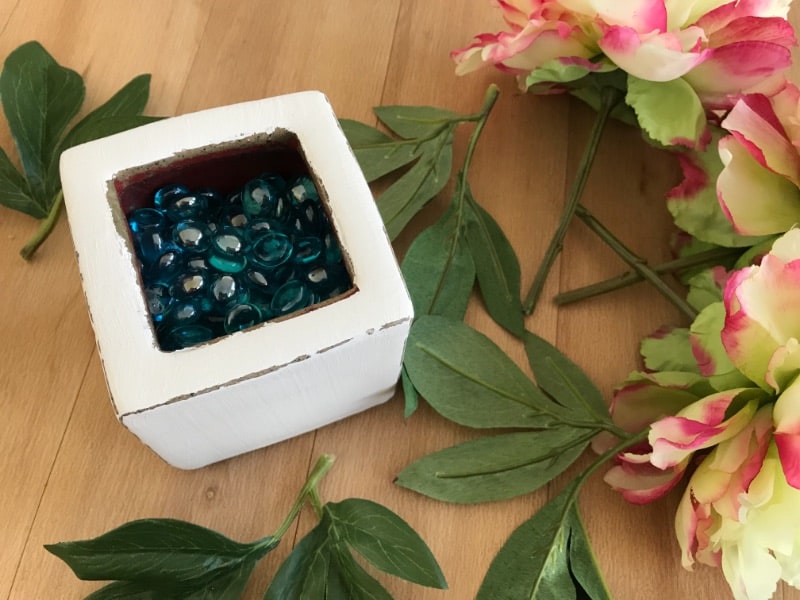
I had a gorgeous red cube vase leftover from the baby shower that my fabulous neighbors threw me in Chicago.
It was a dragon-themed baby shower since my husband and I got the Year of the Dragon baby that we had been hoping for!
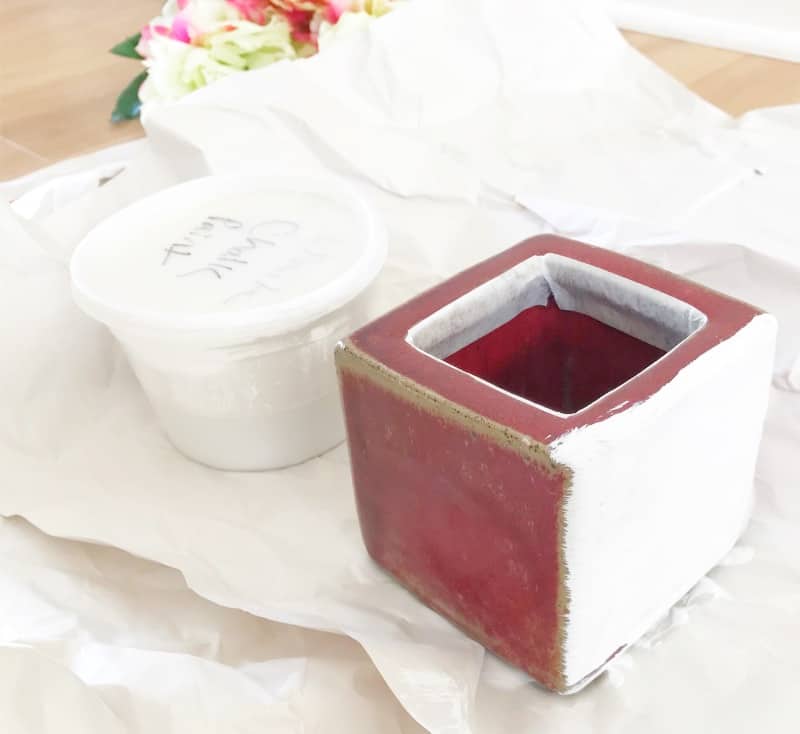
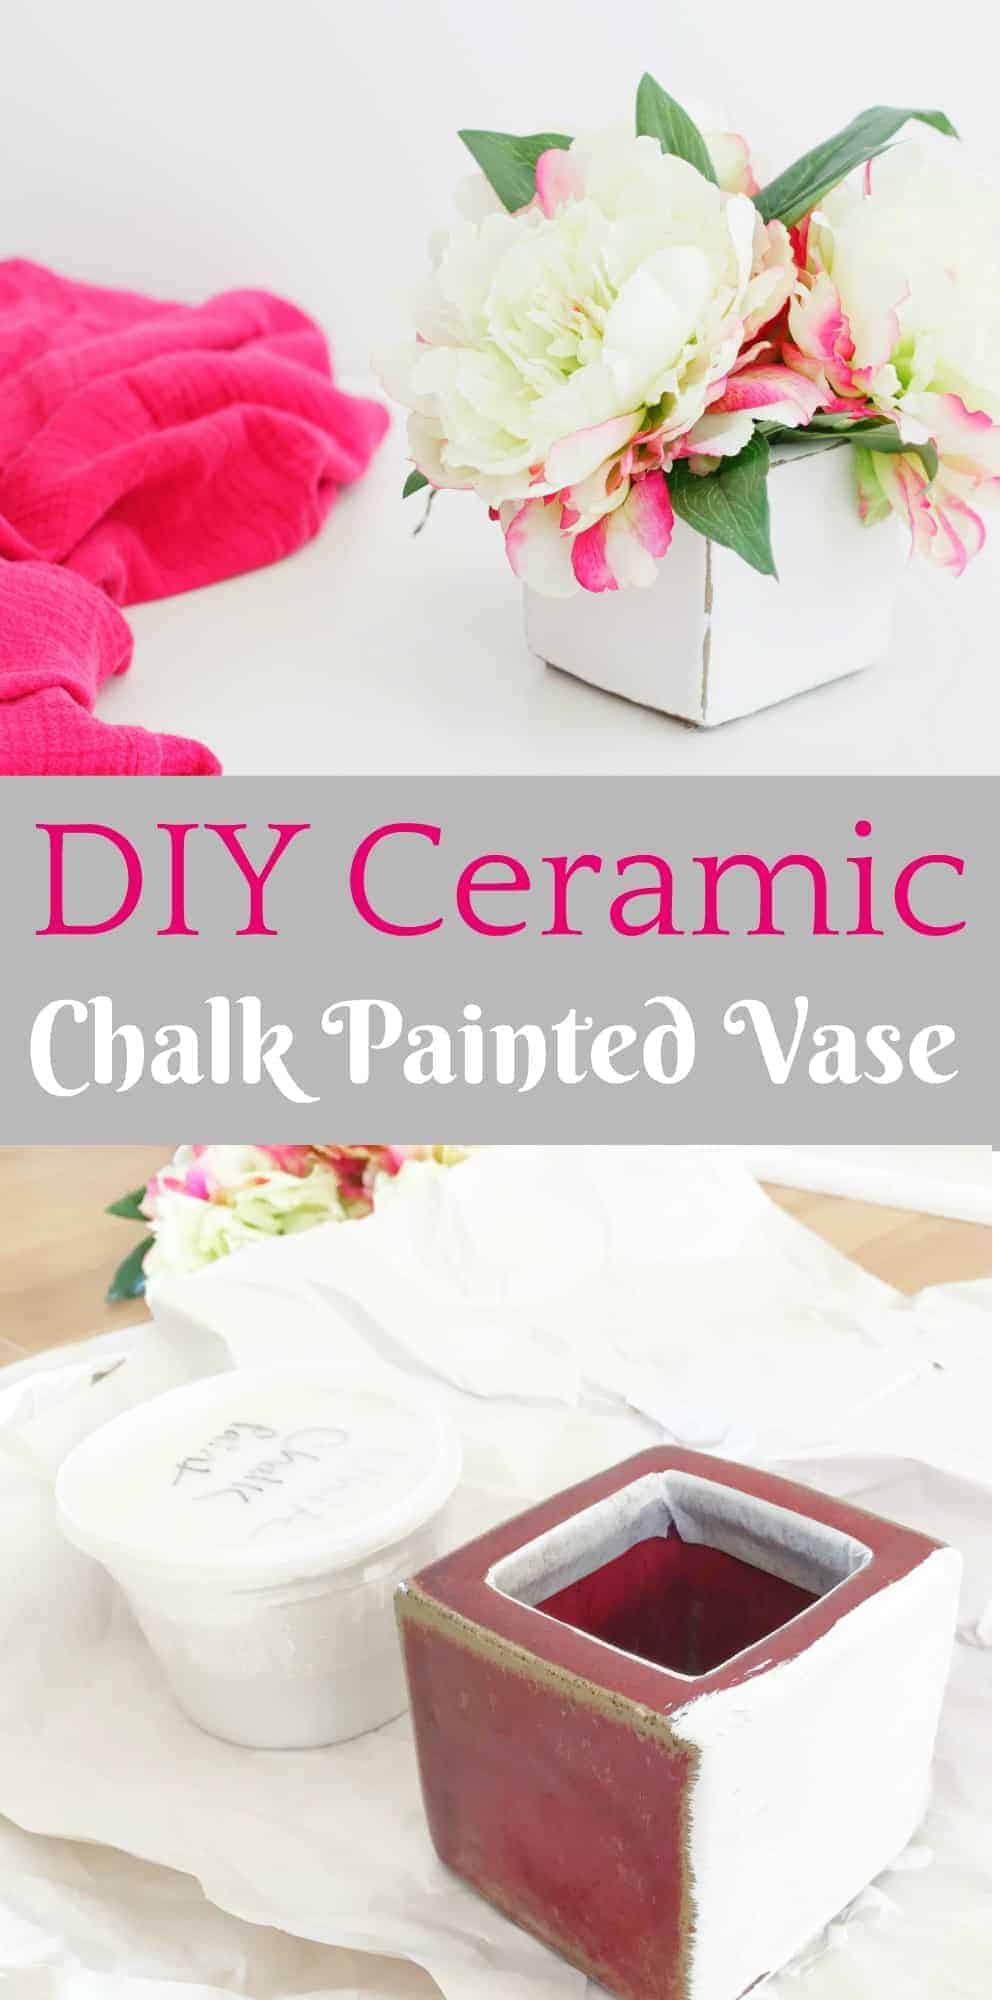
I wanted to paint this cube vase with white chalk paint and give it a new, fresh look for spring! So I assembled my tools and got to work.
You could easily upcycle any old vases you have laying around or find something at the thrift store for a couple of dollars!
How to paint ceramics with chalk paint
Here are all the steps to painting your ceramic piece with chalk paint.
1. Clean ceramics before you paint them
The most important step for painting your ceramics with chalk paint is to get them nice and clean!
You don’t want any greasy residue or dust to prevent the paint from sticking.
I used my usual vinegar and water spray and wiped the vase down with a clean microfiber cloth.
2. Tape off any part of the ceramic vase you don’t want to be painted
I didn’t want to paint the inside at all, so I put painter’s tape around the interior corner to prevent that.
It worked perfectly.
3. Paint your first layer
Use the broad paintbrush to apply the chalk paint to your surface.
*BE CAREFUL AROUND THE CORNERS!
At the corners, the paintbrush has a tendency to catch and “flick” paint to the side. I found vertical strokes to be better at preventing flickage.
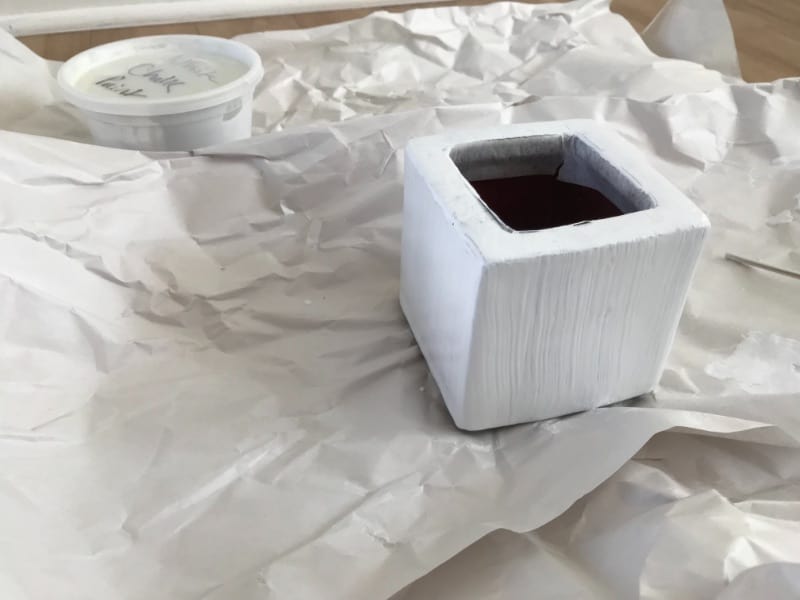
4. Allow the first layer of chalk paint to dry
Once the first coat is down, leave it for about an hour to dry. My vase was completely dry in about 45 minutes.
It may look a little streaky, but please don’t worry! It will start looking a lot better with the next coat.
I used this tip from The Thinking Closet and stored my wet paintbrush in a Ziplock bag in the fridge in between coats to keep it wet and ready.
Genius!
5. Add more coats of paint
Reapply more coats of paint until you are happy with the finished look; allow the chalk paint to dry for 1 hour in between coats.
I used 3 coats total on my ceramic vase.
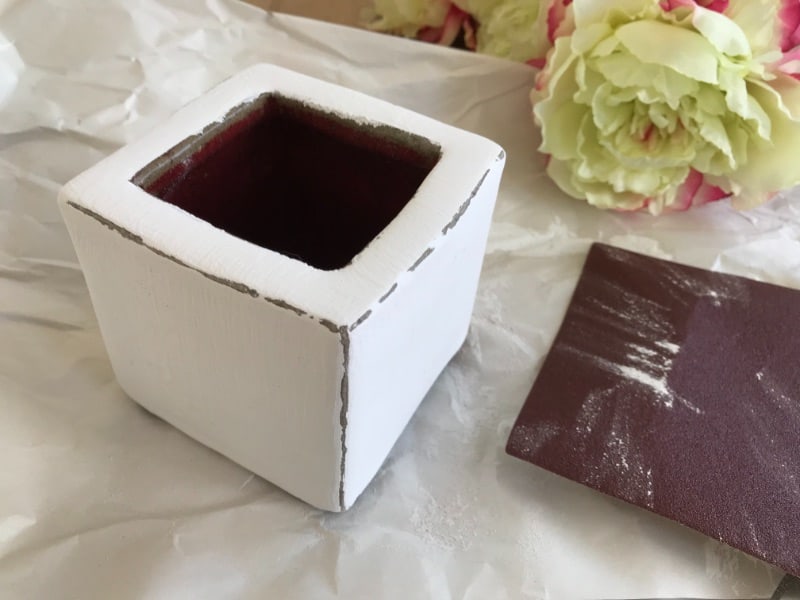
6. Optional step: distress your paint.
I wanted to distress the edges and corners so that the sandy color that was there previously peeked through a little.
BEWARE!
Keep your vase on a newspaper or something else…distressing generates a lot of paint dust!
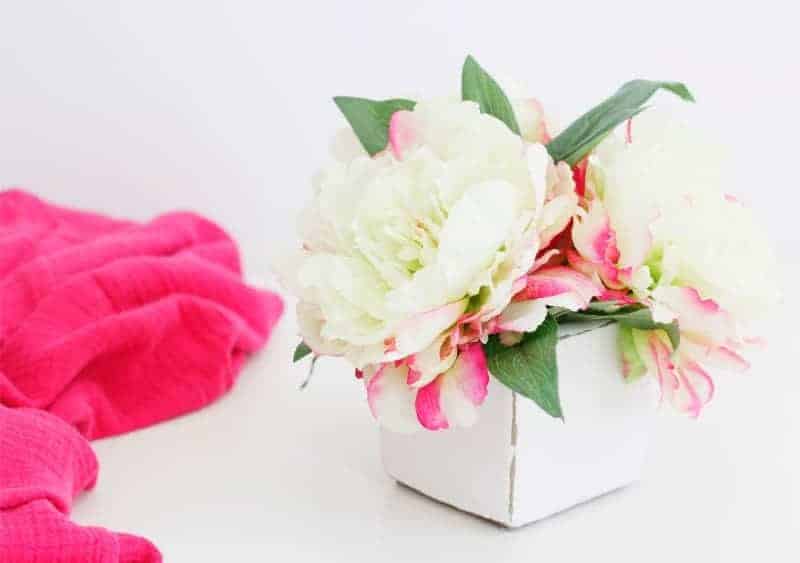
I was planning on taking more of the paint off, but I actually liked the slim and incomplete distressed effect!
Don’t forget to remove the painter’s tape from the inside once you are done.
7. Fill your vase!
Hold the stems of your chosen flowers against the vase to get an idea of how long they need to be. Cut the stems of your flowers so that they will fit inside the vase.
Take off some leaves as well, if you like!
I thought it looked nicer with some greenery mixed in with the flowers.
I found that the flowers didn’t stay so well in the empty vase.
Some gemstones leftover from several other projects was my solution, but you could also use styrofoam, rocks, etc.
Now you are ready to put your flowers in.
Stick those suckers in there! Make sure they are wedged in nice and tight!
Finally, your vase is ready for display.
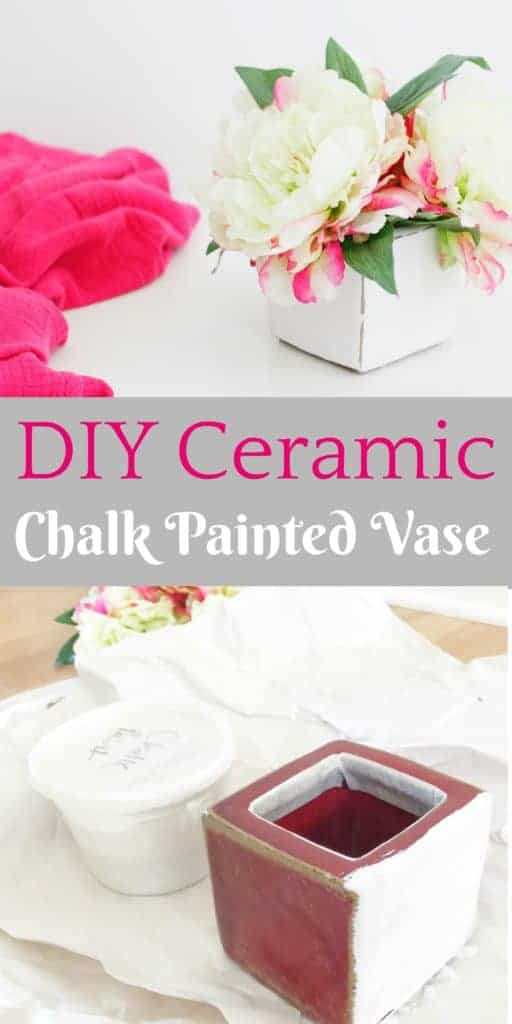
I just love how this little chalk paint project turned out!
This is such a perfect little minimalist vase for the spring, and I can see myself switching the peonies out in the future for some succulents or maybe bamboo!
I ended up having so much fun, I decided to use chalk paint on a bunch of other items, including a thrifted silver teapot.
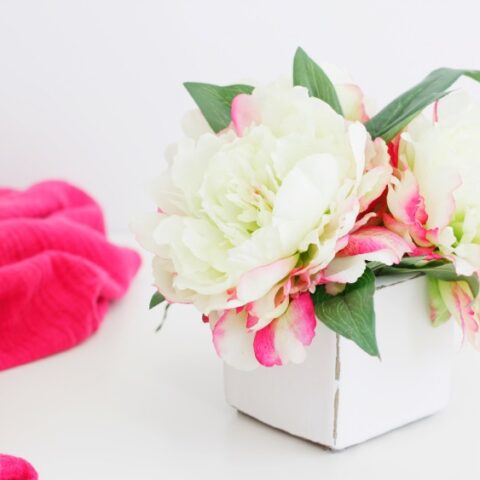
How to Use Chalk Paint on Glazed Ceramics (Like This Vase)
Wondering if you can use chalk paint on ceramics? Wonder no more! Here is an easy guide on how to use chalk paint on glazed ceramics to upcycle old vases.
Materials
- Ceramic vase
- Chalk paint
- Paintbrush
- Flowers & vase filler
Tools
- Newspaper or dropcloth
- Painter's tape
- Sandpaper (100 grit)
Instructions
- Clean ceramics before painting with a 50/50 white vinegar & water spray solution. Allow to fully dry.
- Tape off any part of the vase you do not want to paint with chalk paint.
- Paint the first layer.
- Allow to dry 30-45 minutes before painting the next layer.
- Add more layers, allowing time to dry between each layer, until you are happy with the result.
- Distress paint with sandpaper if desired.
- Fill and display vase.
Notes
*Paint vertically to avoid paint flicking off on the edges.
*Contain the mess with newspapers or dropcloth on the work surface.
*Place wet paintbrush in Ziplock bag and store in the fridge in between layers.
Recommended Products
As an Amazon Associate and member of other affiliate programs, I earn from qualifying purchases.
Jas @ All that's Jas says
Simple and classy. That’s a great idea. I have some chalk paint leftover and will be looking for vases to paint 🙂
Marissa says
Thanks Jas! You definitely should…it’s so easy to do and chalk paint is very forgiving.
Victoria @DazzleWhileFrazzled says
So pretty! This would make a great Mother’s Day gift. Visiting from Nifty Thrifty Sunday.
Marissa says
Victoria, that’s a great idea! Glad you found your way over ?
Courtney Bishop says
What a simple, yet adorable little touch! I love this idea. I am definitely going to steal it 🙂
Marissa says
Awesome Courtney! The best thing is, it can work with any shape vase, made out of any material! Hope it turns out well for you 😉
Mary says
This is such a cute makeover and the distressing really makes a difference along with that unique shape.
Ashley Wright says
Such a pretty vase.
Marissa says
Thanks Ashley!
David says
Hi I’m doing a garden water fountain, using a ceramic bathroom sink pedestal. After applying the paint should I wax it, any advice would be appreciated. Regards David
Marissa says
Hi David! I have never had to ask myself this question, so I really didn’t know BUT I went to a group of pro-bloggers and here was the best answer (hope it helps): “If you wax outdoor stuff, the wax will melt in the heat. They should make chalk paint using exterior paint and it will last a long time outdoors. I did this a few years ago and the planters I painted still look good. See this post: https://inmyownstyle.com/making-outdoor-chalk-paint.html